Cluster Page ? ~2007 words ? Global ? FAQ: 5 ? Safety-first walkthrough (model-agnostic)
This guide explains a safe, practical workflow for replacing a heating element in a GE dishwasher. Because dishwasher designs vary, the instructions are written at a common denominator level: isolate power and water, access the heater terminals, swap the element with correct seals, then test for leaks and verify heating performance.
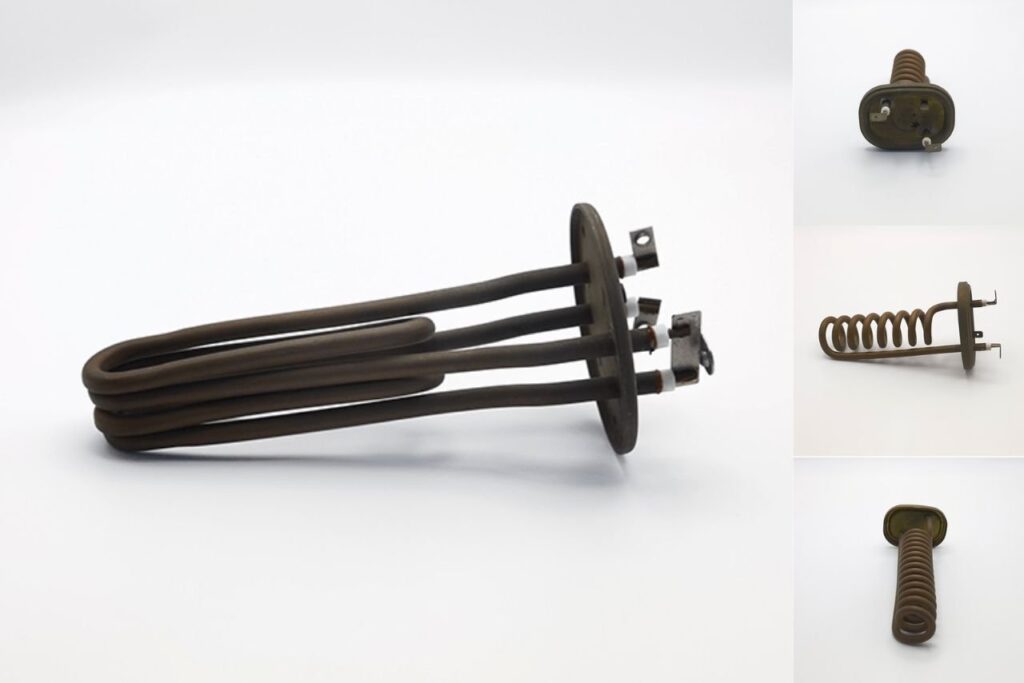
Engineering context: a heating element is an assembly (conductive + insulating materials + connectors) designed for a purpose meaning correct fit, terminals, and operating conditions matter as much as the coil itself. TUTCO reference.
- When to replace the heating element (quick confirmation)
- Tools and parts checklist
- Safety setup (power, water, and scald risk)
- Removal steps (typical GE dishwasher layout)
- Install the new element (seals + terminals)
- Leak test and functional test
- Avoiding repeat failures
- FAQ (5)
- References & required internal links
- Heating-related symptoms persist after maintenance and correct cycle settings (poor drying, cool wash water, extended cycles).
- There is visible damage at the heater or heater terminals (scorching, loose/burnt connectors).
- The heater circuit tests open (if you re qualified to test with a meter).
Reminder: TUTCO emphasizes heater performance/life depends on the environment and integration. A heater problem can be the element, a terminal hot spot, or control logic. Source.
- Screwdriver set / nut drivers (kick plate, junction box, mounting)
- Adjustable wrench or appropriate open-end wrench (heater nuts, if present)
- Needle-nose pliers
- Towel + shallow pan (residual water)
- Flashlight
- Correct GE dishwasher heating element (match by model)
- Correct gaskets/seals (often supplied; replace if deformed)
- High-temp terminals (optional, but recommended if existing terminals are loose/discolored)
- Turn off power at the breaker (dishwashers are often hardwired).
- Confirm power is off before touching the junction box wiring.
- Turn off the water supply to the dishwasher.
- If the dishwasher just ran, allow it to cool to reduce scald risk from hot water.
Whirlpool s water-heater element instructions begin by running hot water until it s cool before draining, emphasizing scald prevention. Different appliance, same safety concept: don t work on hot water systems until water temperature is safe. Source.
Many dishwashers route heater terminals through the tub floor, with wiring accessible behind the lower kick plate. Some models require tipping the unit or sliding it out for access. Use the model number to confirm exact access.
Set screws aside and keep panels oriented for reassembly.
Photograph wire routing and terminal positions. If any connectors are loose or darkened, plan to replace them.
Pull on the connector body, not the wire. If a connector is tight, wiggle gently.
Depending on model, the element may be retained by nuts at pass-through studs or clips/brackets. Support the element so it doesn t stress the tub penetrations.
Remove old gaskets and wipe mating surfaces clean. Any debris can cause slow leaks.
Confirm the new element matches your model and has the correct fit and terminals. Whirlpool s guidance explicitly calls out verifying voltage/wattage against the data plate for heater replacements. Reference.
Use only the gasket type intended for the element. Ensure it sits flat with no twists.
Tighten evenly. Over-tightening can deform seals; under-tightening can leak.
Ensure all wire connections are snug. Whirlpool s element instructions emphasize tight wire connections this helps prevent hot spots at terminals. Source.
- Turn water supply back on.
- Inspect heater pass-through areas and under the unit for any drips.
- If a leak appears, stop, shut water off, and correct gasket seating/tightness.
Whirlpool s steps include checking for leaks after installation and tightening until leaks stop; if leaks persist, inspect/replace the gasket. Same concept applies here. Reference.
- Reinstall the kick plate/toe panel.
- Restore electrical power at the breaker.
- Run a short cycle and monitor for leaks.
- Over the next 1 C2 cycles, confirm improved drying/water temperature behavior.
- Replace loose/discolored terminals
- Keep connections tight and corrosion-free
- Ensure wires are routed away from sharp edges
- Keep filters clean to maintain normal wash performance
- Use rinse aid for drying performance
- Address persistent long cycles (may indicate heating target issues)
TUTCO notes heater life is limited by oxidation, deformation, and cycling; keeping systems operating within intended conditions reduces stress. Source.
In appliance manufacturing, heating elements appear as tubes, plates, films, and integrated modules. JINZHO organizes these under Heating Element and related categories such as Heating Tubes, Heating Plate (includes Dishwasher Heater Element in the listing), and Heating Film, plus integrated heater modules in Die Casting Heating Solutions.
Some models allow access from the front/lower panel; others require pulling the unit for underside access. Use your model number to confirm the access method before starting.
Working with power on, or restoring power before confirming there are no leaks and wiring is secure. Whirlpool s heater guidance emphasizes safe sequencing and tight wire connections. Reference.
Tighten carefully, but if the leak doesn t stop, the gasket may be mis-seated or damaged. Whirlpool s process advises removing the element and inspecting/replacing the gasket if needed. Source.
It s not recommended. Compressed or hardened gaskets are a common cause of slow leaks after heater replacement.
Drying also depends on rinse aid, cycle choice, water temperature, and airflow/venting design. If drying doesn t improve, the issue may be outside the heating element itself.
- TUTCO heating element definition and heater-life considerations: https://tutco.com/conductive/heating-elements
- Whirlpool Replace the Heating Element steps (used for safety/verification principles: correct replacement, tight wires, leak checks): https://www.whirlpoolwaterheaters.com/support/help/element-was-out-of-range/24
- Hudson Reed example of a spec-forward heater product listing (non-dishwasher): https://usa.hudsonreed.com/1000-plug-in-watt-electric-heating-element-76309
Disclaimer: This is general information. GE dishwasher designs vary. Always follow model-specific service instructions and local electrical/plumbing safety requirements.

