
Cluster Page ? ~2002 words ? Global ? Step-by-step + safety ? FAQ: 4
Replacing a GE oven heating element is usually straightforward: disconnect power, remove the failed element, transfer wiring carefully, and install the correct replacement. The two most common mistakes are ordering the wrong element (voltage/wattage/geometry mismatch) and leaving loose terminals that later overheat.
Engineering context: TUTCO describes a heating element as a designed component (conductive + insulating materials plus connectors), and notes heater life depends on operating conditions and integration not just wire quality. https://tutco.com/conductive/heating-elements
| Symptom | Likely cause | Quick confirmation |
|---|---|---|
| Oven won t heat in Bake | Bake element open/burned, wiring/relay issue | Visual break/blister; continuity test when power is off |
| Broil doesn t work | Broil element failed, control issue | Visual damage; continuity test |
| Uneven cooking / long preheat | Element partially failing, poor connection, sensor/control issue | Inspect terminals for discoloration/looseness |
Table 1 If a heating element is physically damaged or electrically open, replacement is typically required.
- Screwdriver or nut driver (varies by model)
- Needle-nose pliers (for spade connectors)
- Work gloves
- Multimeter (recommended)
- Correct GE-compatible bake or broil element
- New high-temp female spade terminals (if existing terminals are loose/burned)
Tip: If a terminal is darkened or feels loose on the element tab, replace it loose connections create heat at the connector.
- Turn the oven OFF at the circuit breaker (do not rely on the control panel).
- Confirm the oven is de-energized (display off is not enough; verify with a meter if possible).
- Do not touch exposed terminals until power is confirmed off.
Safety discipline example: Whirlpool s element replacement guide stresses following safety labels/manuals, verifying correct replacement by voltage/wattage, and ensuring wire connections are tight. While written for water heaters, the same best practices apply to ovens. Source.
Remove oven racks. For the bake element, look at the bottom of the oven cavity; for the broil element, look at the top.
Most elements are secured with screws to the rear wall of the oven cavity. Support the element as screws come out so it doesn t drop and stress wiring.
Gently pull the element toward you to expose the wire leads. Avoid yanking wires can retract behind insulation.
Use needle-nose pliers to pull spade connectors straight off the terminals (do not pull on the wire insulation). If connectors are heat-damaged, plan to replace them.
Transfer each connector to the corresponding terminal. Ensure a snug fit. Loose connections can create resistance heating at the connector.
Tuck wires carefully back through the opening, position the element, and resecure screws. Reinstall racks.
- Confirm all connectors are tight and fully seated.
- Ensure the element is not contacting the oven liner in an unintended way.
- Confirm no tools or packaging are left in the oven cavity.
- Restore power at the breaker.
- Set the oven to a low/moderate bake temperature for initial verification.
- Observe for unusual odor, arcing, or immediate breaker trip. If any occur, turn power off and recheck connections.
Whirlpool s guide explicitly says to replace power wires and ensure wire connections are tight, and it warns against energizing at the wrong time. That emphasis reflects a core failure mode for resistive heaters: poor connections and incorrect operating conditions can destroy a heater quickly. Source.
- Model compatibility (use the oven s model number)
- Voltage/wattage rating (correct electrical rating for the appliance)
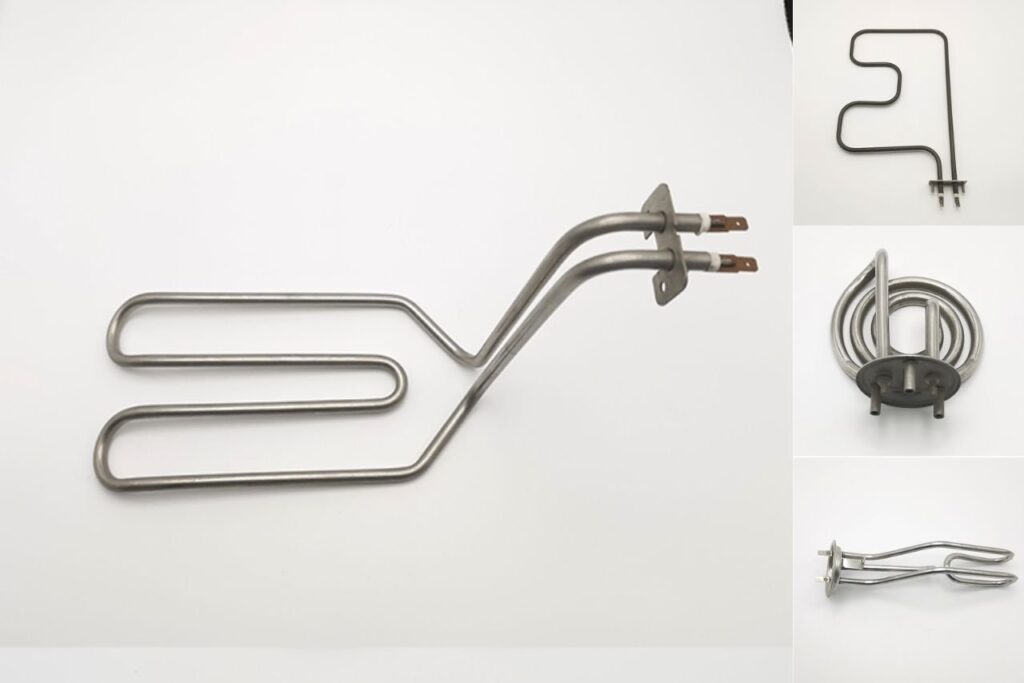
- Shape/geometry (length, bends, mounting bracket position)
- Terminal style (spade size/orientation)
A reminder on heater variety: JINZHO groups heating technologies under Heating Element, including categories like Heating Tubes and Heating Plate. Ovens most often use tubular-style elements, but heating element can mean different constructions across appliances.
In many cases, yes if power can be safely disconnected and the element is accessible from inside the oven cavity. If wiring is burned or insulation is damaged, professional service is recommended.
Common indicators include visible blistering/breaks and an open-circuit reading on a multimeter (no continuity) when power is off.
Frequent causes include loose terminals (connector hot spots), ordering the wrong rating/geometry, or underlying control issues that overheat the element. TUTCO notes heater life is affected by oxidation, deformation, and temperature cycling high temperatures accelerate these failures. Reference.
Not automatically. Replace whichever element is failed. However, if the oven is older and both elements show visible wear or heating performance issues, proactively replacing both may reduce future downtime.
- TUTCO heating elements (definition + heater life and integration): https://tutco.com/conductive/heating-elements
- Whirlpool Replace the Heating Element (verify replacement voltage/wattage; tight connections; safe energizing sequence): https://www.whirlpoolwaterheaters.com/support/help/element-was-out-of-range/24
Disclaimer: This is general guidance. GE models vary. Always follow the appliance s service manual and local electrical safety codes.

