
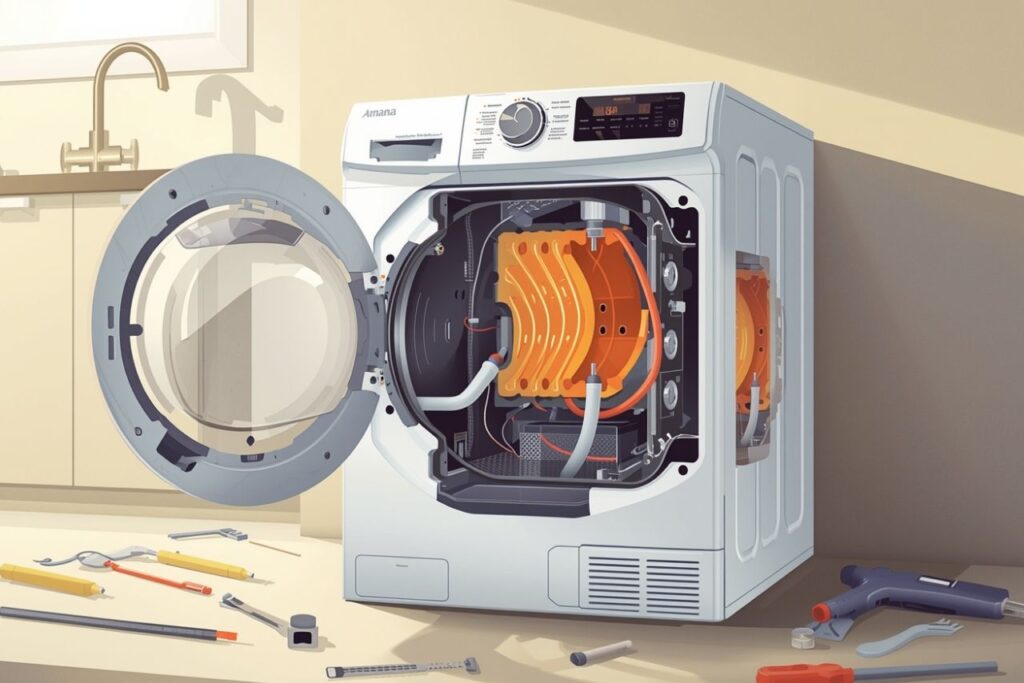
Most Amana electric dryer heating element failures are not caused by the element wire alone—they are caused by the operating conditions around the heater assembly: restricted airflow (lint/vent blockage), overheated or loose electrical terminals, repeated high-temperature cycling, or mechanical issues that let the coil sag and contact the heater housing. A heating element is an engineered **assembly** (conductive alloy plus insulating/support framework and terminals), so diagnosing and preventing failure requires attention to airflow, wiring integrity, and correct part specification—not just replacing the coil.
Related resources: Heating Element, Heating Element manufacturer, Heating Element Factory, Die Casting Heating Solutions.
- What actually “fails” in a dryer heater
- Top failure causes (ranked by field frequency)
- Early warning signs before total failure
- Prevention checklist (what to do during every element replacement)
- Tables & charts: cause–mechanism–fix, symptom map, and inspection log
- FAQ (6 questions)
- References and outbound links
What actually “fails” in a dryer heater
Engineering guidance defines a heating element as a component made of electrically conductive material plus insulating/support material and lead connectors. In dryers, this is best understood as a system inside a heater duct: the element wire (often **nichrome**-type resistance alloy), a support framework/insulators, and the terminal connections feeding current into the heater. Failure can occur in multiple places:
- Open element: the coil breaks or burns through.
- Short to housing: the coil sags, moves, or fractures and touches the metal heater box.
- Terminal overheat: loose spade terminals create localized resistive heating, discoloration, and arcing.
- Safety trip: thermal fuse/high-limit device opens due to overheat events (often airflow-driven).
Section summary
Dryer “element failure” frequently includes airflow problems and connector damage, not only a broken coil.
Top failure causes (ranked by field frequency)
1) Restricted airflow (lint buildup and vent blockage)
Dryer elements rely heavily on convection (airflow) to carry heat away. When airflow is restricted, the coil runs hotter and local **watt density** on the element surface effectively increases. Engineering discussions of heater life highlight that operating conditions and environment strongly affect longevity; in dryers, lint accumulation is the dominant “environmental contaminant.”
- Lint packed in the lint housing or heater duct increases temperature.
- Crushed or long vent runs increase back pressure and reduce flow.
- A blocked exterior hood can create chronic overheat cycling.
2) Loose or heat-damaged electrical terminals
A loose spade terminal increases contact resistance. That resistance converts electrical energy into heat at the connector—often enough to discolor metal, deform terminal housings, and cause intermittent heating. This aligns with the heater-element-as-assembly concept: terminals are part of the heating element system.
3) Coil sagging or shifting into the heater housing (short-to-chassis events)
Heating element wire is supported by insulators/framework. If the element is installed incorrectly, supports are bent, or the assembly is damaged, the wire can move and contact the metal heater box, creating a short and tripping protection or destroying the coil.
4) Thermal cycling and oxidation (normal aging accelerated by overheat)
Resistance alloys form oxide layers at elevated temperature. Over time, thermal expansion, cycling, and oxide behavior contribute to eventual burnout. Excess temperature from restricted airflow accelerates this aging process.
5) Wrong replacement element rating or mismatch
Installing an incorrect-rated element changes heat output and operating temperatures. Service guidance for other heating equipment explicitly instructs verifying replacement by checking the data plate for **voltage** and **wattage**; the same specification discipline applies to dryers.
Spec-sheet discipline (practical habit)
Product listings for heating elements in other categories often show power rating (W), materials, protection ratings, approvals, and warranty. Even when a dryer element listing is simpler, the best practice remains: verify rating and fit before installation.
Section summary
Airflow restriction and terminal integrity are the two most preventable causes; rating mismatch and mechanical sag amplify risk.
Early warning signs before total failure
Many heater failures provide warnings. Recognizing these signs can prevent secondary damage to wiring, thermostats, and the heater box.
| Warning sign | Likely underlying cause | Recommended action |
|---|---|---|
| Dry times increasing gradually | Vent restriction or lint buildup reducing airflow | Clean vent run and lint housing; confirm strong exhaust airflow |
| Heat comes and goes | Loose terminal heating/arcing; high-limit cycling from overheating | Inspect terminals; check airflow restriction; replace damaged connectors |
| Burning smell or hot metal odor | Lint scorching or overheated connector | Stop use; inspect heater duct and wiring; remove lint and correct faults |
| Breaker trips when heat is selected | Short to chassis; damaged wiring; coil contact with housing | Stop use; inspect heater box; professional evaluation if needed |
Section summary
Longer dry times and intermittent heat often indicate airflow or terminal issues—both should be corrected before a new element is installed.
Prevention checklist (what to do during every element replacement)
Preventing repeat failures is typically more cost-effective than repeated element swaps. Engineering narratives on heating solutions emphasize that integration, installation, and environment create “hidden costs” when ignored.
Best-practice prevention checklist
- Confirm correct part: model match + **voltage/wattage** match.
- Photograph wiring; restore connections exactly and ensure they are tight.
- Replace any heat-discolored or loose spade terminals.
- Vacuum lint from heater box, lint housing, and cabinet.
- Inspect and clean the full vent path and the exterior hood.
- Ensure element is centered and supported (no coil-to-housing contact).
- Reinstall all heater covers before energizing.
Section summary
A high-quality repair pairs element replacement with airflow restoration and terminal replacement where needed.
Tables & charts: cause–mechanism–fix, symptom map, and inspection log
Table 1: Cause → mechanism → field fix
| Cause | Mechanism (what it does to the element) | Field fix / prevention |
|---|---|---|
| Airflow restriction | Increases coil temperature; accelerates oxidation and fatigue; trips limits | Clean lint/vent; verify exhaust airflow; correct crushed ducting |
| Loose terminal | Resistive heating at connector; arcing; wire insulation damage | Replace terminals; ensure tight seating; correct wire routing |
| Coil contact with housing | Short-to-chassis or localized overheating | Correct installation and support; replace bent framework |
| Wrong element rating | Heat output mismatch; abnormal cycling and temperatures | Verify **voltage/wattage** and model fit before install |
| Frequent thermal cycling | Thermal expansion fatigue and oxide-layer stress over time | Address root causes of overheat cycling (usually airflow) |
Table 2: Quick symptom map for repeat failures
| Repeat complaint | Most likely root cause | Confirm by |
|---|---|---|
| Element fails within weeks/months | Vent restriction or lint buildup causing overheating | Measure/observe exhaust airflow; inspect heater box for lint |
| Melted connector at heater | Loose terminal, undersized/poor connector, arcing | Visual inspection for discoloration; check connector fit |
| Breaker trips on heat | Short to chassis from coil contact or wiring damage | Inspect heater box for contact marks; check wire routing |
Table 3: Printable inspection log (recommended for service documentation)
| Inspection item | Status (OK / Needs work) | Notes |
|---|---|---|
| Vent run free of lint and kinks | ____ | ____ |
| Exterior hood opens freely | ____ | ____ |
| Lint housing cleaned | ____ | ____ |
| Heater box vacuumed | ____ | ____ |
| Terminals tight and undamaged | ____ | ____ |
| Element centered / no housing contact | ____ | ____ |
| Covers reinstalled before test | ____ | ____ |
| Controlled heat test passed | ____ | ____ |
LSI / semantic keywords used in context
**Amana dryer heating element**, **dryer heating coil**, **thermal fuse**, **high-limit thermostat**, **airflow restriction**, **vent cleaning**, **multimeter continuity test**, **resistive heating**, **Joule heating**, **watt density**, **nichrome alloy**, **insulating framework**, **terminal arcing**.
Section summary
A cause–mechanism view clarifies why vent cleaning and terminal replacement prevent repeat element burnouts.
FAQ
1) Why do heating elements fail more often in some homes than others?
The dominant differences are airflow and lint management (vent length, crushing, blockages, and cleaning frequency). Restricted airflow forces the element to run hotter.
2) Can a “new” heating element still be defective out of the box?
It is possible, but repeat failures are more commonly caused by installation conditions (airflow restriction, terminal damage, coil contact). Verifying continuity before installation can reduce uncertainty.
3) Does a blocked vent really raise heater temperature that much?
Yes. Dryer elements rely on airflow for heat removal (convection). Reduced airflow increases element temperature and can trigger high-limit cycling or burnout.
4) Should terminals be replaced even if the element is being replaced?
Any heat-discolored or loose terminal should be replaced. Connector hot spots can destroy a new element’s wiring interface and cause intermittent heating.
5) What is the simplest “rule” to avoid wrong replacement parts?
Use the model number and verify rating and fit. Service guidance for other heater replacements explicitly stresses checking the appliance data plate for voltage and wattage before installing the new element.
6) Is element failure always a fire risk?
Not always, but overheating from lint and terminal arcing can increase risk. Any burning smell, melted connector, or repeated tripping should be treated as a safety issue requiring inspection before continued use.
Conclusion
The most common causes of Amana dryer heating element failure are preventable: vent restriction and lint accumulation that overheat the coil, and degraded electrical terminals that create resistive hot spots and arcing. Treating the heater as an engineered **assembly**—coil plus supports and terminals—leads to better diagnostics and longer-lasting repairs. A “complete” element service should include airflow restoration, terminal integrity checks, correct part specification verification, and careful installation that preserves element clearance and support.
References and outbound links
Heating element engineering concepts (element as assembly, alloys, supported/suspended/embedded frameworks, environment/contaminants, watt density and longevity):
https://tutco.com/conductive/heating-elements
Replacement sequencing and rating verification principle (used as a method reference: verify voltage/wattage; tight connections; restore covers):
https://www.whirlpoolwaterheaters.com/support/help/element-was-out-of-range/24
Product-family context (heating tubes/plates/films; manufacturing framing):
https://jinzho.com/
https://jinzho.com/product-category/heating-element/
https://jinzho.com/product-category/heating-element/heating-tubes/
https://jinzho.com/product-category/heating-element/heating-plate/
https://jinzho.com/product-category/heating-element/heating-film/
https://jinzho.com/product-category/die-casting-heating-solutions/
https://jinzho.com/product-category/electric-heater-parts/electric-boiler-heater/
Example of spec-style listing (wattage/material/IP/UL/warranty) used to reinforce specification discipline:
https://usa.hudsonreed.com/1000-plug-in-watt-electric-heating-element-76309
Disclosure: This article is educational and model-agnostic. Exact heater box geometry and component placement vary by Amana dryer model and series.

