
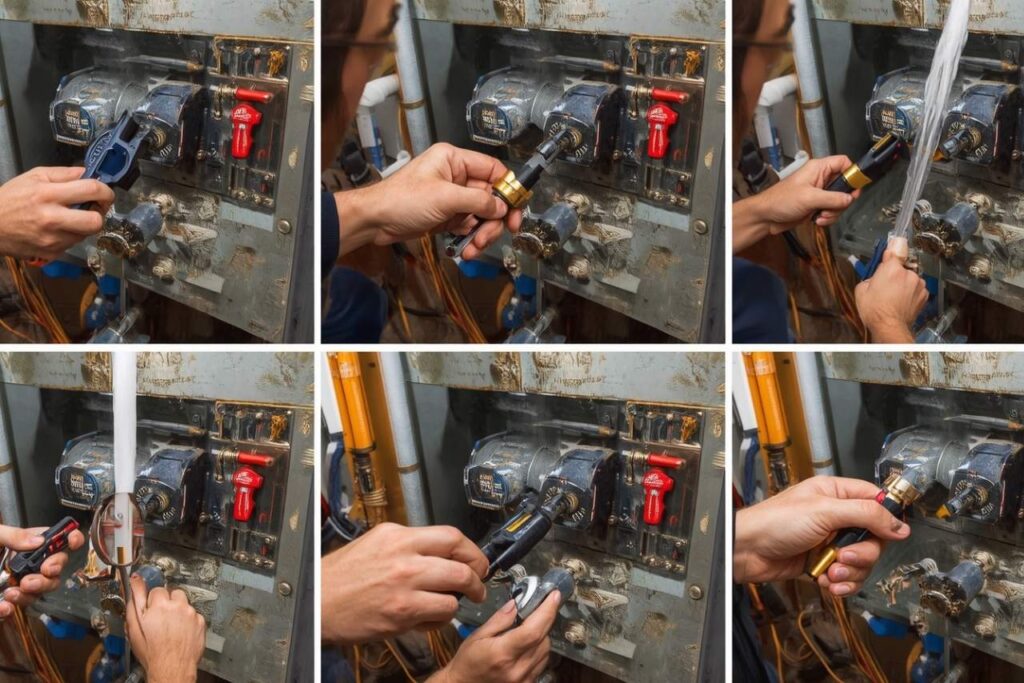
A “ground fault” at an electric water heater element means electricity is leaking from the element’s energized conductor to the metal sheath/tank (ground) instead of staying in the intended circuit. The result can be a tripped breaker, a tripped GFCI device, intermittent heating, or—worst case—shock risk. This guide shows how to check water heater elements for ground faults safely using a multimeter, and what to do if you find one.
- 1) What a ground fault is (and why elements can do it)
- 2) Symptoms that point to a ground fault
- 3) Safety: kill power and avoid “live testing”
- 4) Tools and where to access the elements
- 5) Step-by-step ground fault test (terminal → tank)
- 6) Interpreting readings and avoiding false results
- 7) What to do if it’s faulted (replacement workflow highlights)
- 8) Preventing repeat element failures
- FAQ
1) What a ground fault is (and why elements can do it)
In a typical tank-style electric water heater, the element is an embedded, sheathed heating component. Inside the metal sheath is a resistive heating conductor surrounded by electrically insulating (but thermally conductive) material—commonly magnesium oxide. When current flows, the resistive conductor produces heat (Joule heating) and that heat conducts outward to the sheath and into the water.
A ground fault occurs when the insulation barrier breaks down or moisture/contamination creates a leakage path, allowing current to travel from the energized conductor to the metal sheath and then to the tank (ground). Because the tank is bonded/grounded, that leakage can trip protective devices or create hazardous touch voltage if grounding is compromised.
2) Symptoms that point to a ground fault
Not every “no hot water” problem is a ground fault. But these symptoms make it more likely:
Common ground-fault-ish symptoms
- Breaker trips when the heater calls for heat
- GFCI device trips repeatedly (where present)
- Intermittent heating followed by sudden trip
- Visible signs of moisture at element area or wiring
Symptoms that can be “something else”
- Always lukewarm water (could be one element/thermostat)
- No hot water but breaker never trips (could be open element or controls)
- Hot water runs out quickly (often lower element issue)
3) Safety: kill power and avoid “live testing”
Safe shutdown checklist
- Turn the water heater breaker OFF (both poles).
- Remove upper/lower access covers and pull back insulation carefully.
- Use your meter to verify no voltage at the element terminals before touching anything.
- Take a photo of wiring before disconnecting.
4) Tools and where to access the elements
You’ll need a basic digital multimeter that can measure resistance (Ω) and ideally has a continuity mode. Most tank electric water heaters have two elements—upper and lower—behind separate access panels.
5) Step-by-step ground fault test (terminal → tank)
The ground fault check is simple: with the element isolated, measure resistance from each element terminal to the metal tank (or grounded metal).
Detailed procedure
- Power OFF at breaker. Remove the element access cover and insulation.
- Verify 0V at the element terminals using voltage mode.
- Take a photo of the wiring.
- Disconnect both wires from the element terminals (isolate the element).
- Set meter to resistance (Ω) or continuity.
- Place one probe on terminal A, the other probe on bare metal tank (or the element’s metal mounting plate).
- Record the result. Repeat with terminal B to tank metal.
- Repeat for the other element (upper/lower) if present.
OL) from each terminal to the tank.6) Interpreting readings and avoiding false results
Ground fault checks are straightforward, but these pitfalls can waste time:
| Pitfall | What happens | How to avoid |
|---|---|---|
| Not isolating the element | You may read through other circuits to ground | Remove both element wires before testing to tank |
| Probing painted/dirty tank metal | False “open” because your ground probe has no contact | Use a clean bare-metal spot or a known ground screw/plate |
| Relying only on continuity beep | Some leakage may not “beep” depending on threshold | Use resistance mode too; look for very high/OL vs low |
| Testing only one element | You miss the fault if the other element is leaking | Test upper and lower elements on dual-element heaters |
Combine with an “across terminals” check
A ground fault test tells you if the element is leaking to the tank. It doesn’t tell you if the element is open. If you already have wires disconnected, you can also check resistance across the two terminals (finite, stable resistance suggests the element conductor is intact; OL suggests an open element).
7) What to do if it’s faulted (replacement workflow highlights)
If you confirm a ground fault, replace the faulty element. Below is a high-level replacement workflow commonly recommended for safety and reliability—especially to prevent “dry firing” a new element.
Replacement sequence (summary)
- Run hot water until it’s cool (10 minutes or longer) before draining to reduce scald risk.
- Turn cold water supply OFF.
- Connect a garden hose to the drain valve; route to a drain/bucket/outside.
- Open the drain valve; open a hot faucet to help drainage; drain completely.
- Remove the old element using an element wrench or 1 1/2″ deep well socket.
- Verify the new element is correct by checking the heater’s data plate for voltage and wattage.
- Clean tank threads; install gasket on new element; lubricate gasket with a drop of hand dish soap.
- Install new element hand tight, then tighten with wrench/socket.
- Reconnect wires tightly, but keep breaker OFF.
- Close drain valve; turn cold water ON to refill.
- Remove faucet aerator; run hot water until full stream; keep running for THREE MINUTES to purge air.
- Check for leaks; tighten if needed; replace covers/insulation.
- Turn power back ON. Full heat recovery can take up to two hours.
8) Preventing repeat element failures
A ground fault can be “just age,” but repeated failures often indicate a stressor. Consider:
Water-side factors
- Hard water scaling (creates hotspots)
- Sediment buildup at tank bottom
- Corrosive conditions that attack sheath/insulation over time
Install/operation factors
- Dry firing after service (power on before full tank)
- Loose electrical connections causing heat at terminals
- Incorrect replacement voltage/wattage
FAQ
Do I need to drain the tank to check for a ground fault?
Usually no. Ground fault testing is done electrically with the power OFF and the element wires disconnected. Draining is typically only required if you need to remove/replace the element.
My breaker trips instantly. Is that definitely a ground fault?
Not always—shorted wiring, a damaged thermostat, or a failed element can also trip a breaker. The terminal-to-tank resistance test helps separate a true element-to-ground fault from other issues.
Why do I need to remove both wires from the element to test it?
Removing both wires isolates the element from the rest of the circuit so your meter reads the element-to-tank insulation path directly, without back-feeding through other components.
What’s the biggest mistake after replacing an element?
Powering on before the tank is full and purged of air. Running hot water to a full stream and keeping it running for three minutes (with the aerator removed) helps purge air. Energizing an element in air can burn it out quickly.
Disclaimer: This article is general information and does not replace your water heater’s owner’s manual or safety labels. If you’re unsure about electrical measurements or encounter damaged wiring, consult a qualified technician.

