
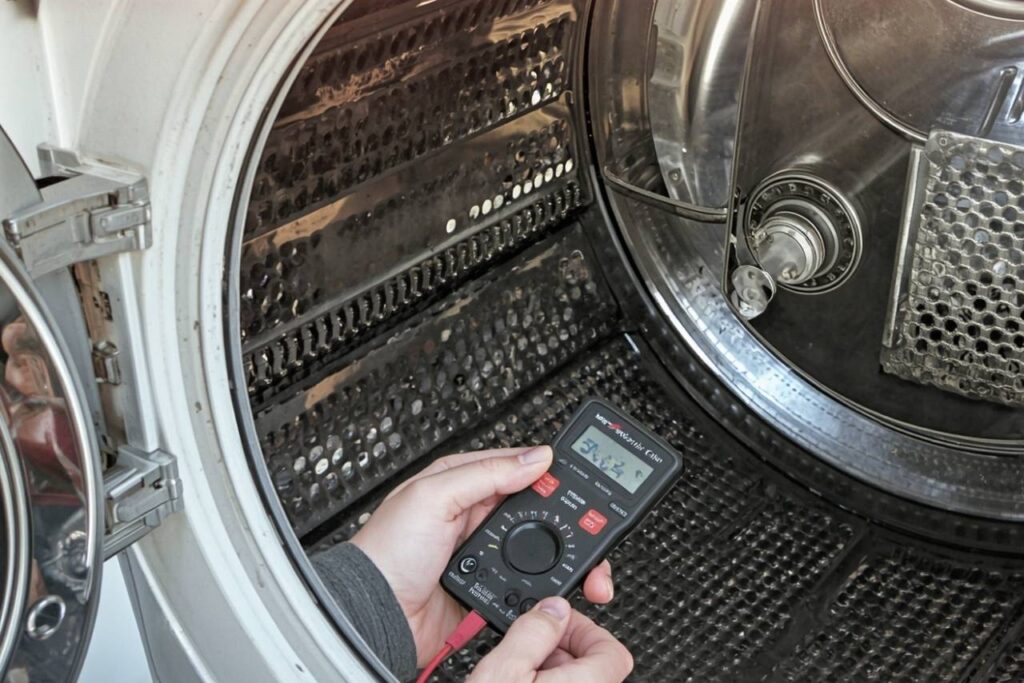
If your dryer runs but clothes stay cold, you’re probably thinking “bad heating element.” A multimeter is the best way to confirm it—however, you can still learn a lot without a meter by using safe visual checks, symptom-based logic, and airflow testing. This guide shows how to narrow down the heating element as the likely culprit (or rule it out) using practical, low-risk steps.
- 1) What you can and can’t prove without a multimeter
- 2) Safety rules (don’t skip)
- 3) Fast triage: airflow and “runs-but-no-heat” basics
- 4) Visual inspection of the heating element (what to look for)
- 5) Heat signs without tools: smell, sound, and cycle behavior
- 6) Power-supply reality check (especially for electric dryers)
- 7) Decision tree: likely element vs. likely control/safety device
- 8) Prevent repeat failures
- FAQ
1) What you can and can’t prove without a multimeter
Without a multimeter, you usually cannot confirm electrical continuity through the heating element or verify a short-to-ground. What you can do is:
- Identify obvious element failures (broken coil, burned-through spots, coil touching the housing).
- Spot overheated wiring/connectors that can mimic a “bad element.”
- Use airflow and symptom logic to determine if overheating/vent restriction likely caused a safety cutout to open.
- Determine if a power-supply issue is likely (electric dryers can tumble without full heat voltage).
2) Safety rules (don’t skip)
Safe preparation checklist
- Unplug the dryer (or turn off the breaker if hardwired).
- Allow the dryer to cool if it was recently running.
- Move it gently away from the wall to access the vent and/or rear panel.
- Wear gloves—sheet metal edges are sharp and lint is irritating.
3) Fast triage: airflow and “runs-but-no-heat” basics
Before blaming the heating element, check the two most common “not-the-element” causes: airflow restriction and power-supply issues.
Airflow quick test (no tools)
- Clean the lint screen thoroughly (front and back of the mesh).
- Inspect the exhaust hose behind the dryer: avoid crushed sections and tight bends.
- Go outside and feel the exhaust at the vent hood while the dryer runs (on an air-only or normal cycle). You want a strong, steady airflow.
What airflow symptoms suggest
| Symptom | More consistent with | What to do next |
|---|---|---|
| Dryer takes very long to dry, top feels hot, outside vent is weak | Vent restriction / lint buildup | Clean vent path end-to-end before replacing parts |
| Dryer ran hot, then suddenly no heat | Thermal fuse / high-limit opened | Inspect airflow and heater housing area for lint and overheating signs |
| Airflow is strong but still no heat | Element, controls, or power-supply issue | Proceed to visual element inspection and power checks |
4) Visual inspection of the heating element (what to look for)
With power disconnected, remove the access panel needed to see the heater housing. Many models use a rear panel; some use a lower front or side panel. You’re looking for the heating element assembly and its terminals.
What a “failed” element often looks like
- Broken coil (a clear gap in the spring-like wire)
- Burned-through spot on the coil or insulator
- Sagging coil touching the metal housing (can cause shorts)
- Charred insulators (mica/ceramic supports) or debris baked onto the coil
What can mimic a failed element
- Loose or burned spade connectors on element terminals
- Wire insulation that’s overheated and brittle
- Lint buildup near heater can, causing overheating and safety cutout opening
- Cracked thermostat housing or damaged mounting that interrupts the circuit
Check the element terminals and wiring
Look closely at the two wires that connect to the element terminals. If the connectors are loose, corroded, or heat-damaged, the dryer may not heat even if the element coil is intact. Also inspect the terminal block where the dryer power cord attaches (rear of many electric dryers). Burn marks there can cause a no-heat condition.
5) Heat signs without tools: smell, sound, and cycle behavior
Without a meter, you can’t safely “prove” the element energizes—but you can observe patterns that point you toward the right part of the system.
Behavior clues (safe observations)
| Observation | What it suggests | Why |
|---|---|---|
| Dryer air is completely room-temp for the entire cycle | Element open, safety cutoff open, or no heat power | No intermittent warming points to a hard-open circuit |
| Sometimes warms briefly, then stops heating | Overheating condition or cycling control problem | Airflow restriction can trigger high-limit devices |
| Burning smell near rear panel or vent area | Lint overheating or failing connection | Heat is being generated where it shouldn’t be |
| Breaker trips when heat should engage | Possible short-to-ground in heater circuit | Coil contacting housing can create a fault |
6) Power-supply reality check (especially for electric dryers)
Many electric dryers can tumble with only part of their required supply, yet they need full heating power to energize the element. Without a meter, you can’t measure voltage accurately, but you can still do useful checks:
Check the breaker properly
Electric dryers typically use a 2-pole breaker. If one pole trips or fails, the motor may still run but the heater won’t. Turn the breaker fully OFF and back ON (do not “half reset”).
Inspect the cord and terminal block (visual)
Unplug first. Remove the small rear cover at the cord entry (if accessible). Look for discoloration, melted insulation, or loose screws. A burned terminal block is a common no-heat cause.
7) Decision tree: likely element vs. likely control/safety device
Use this decision flow to decide whether it’s rational to replace the element without a meter (sometimes it is), or whether you should test/diagnose further first.
When it’s reasonable to replace the element without a meter
- You can clearly see a broken heating coil (gap) or coil pieces contacting housing.
- The element assembly shows severe burn-through and damaged supports.
- You’ve corrected obvious airflow issues first (to prevent immediate repeat failure).
When you should stop and test properly
- The coil looks intact, but there’s no heat (could be thermal fuse/thermostat/power).
- Breaker trips when heat should engage (short-to-ground needs confirmation).
- Wiring/terminal block looks heat-damaged (diagnosis and safe repair needed).
8) Prevent repeat failures
Many “new element failed again” stories come down to airflow and overheating, not bad parts. Before and after any heater repair:
Airflow maintenance
- Clean lint screen every load
- Vacuum lint filter housing periodically
- Keep vent run short and smooth (avoid foil accordion ducts)
- Ensure the outside flap opens freely
Connection integrity
- Inspect heater terminals for looseness
- Replace overheated connectors (don’t reuse brittle terminals)
- Secure strain relief at cord entry; inspect terminal block
FAQ
Can I “look for glowing” to confirm the element works?
It’s not recommended. Running a dryer open for visual confirmation can expose you to moving parts and energized components, and some dryers won’t heat with panels open due to safety interlocks. If you need confirmation, use a multimeter or a qualified technician.
My dryer has heat sometimes. Is the element still the problem?
Intermittent heat can be caused by poor airflow (overheating cutouts), a failing thermostat/thermal fuse, or a connection that heats up under load. A visually intact coil doesn’t rule out an electrical problem.
What’s the single best “no-tool” thing I can do first?
Verify strong airflow at the outside exhaust and eliminate vent restrictions. Airflow problems can cause long dry times and can also trigger safety cutoffs that stop heating.
Disclaimer: This guide is general information and does not replace your dryer’s service instructions. For accurate diagnosis and safe repair—especially if there is breaker tripping, melted wiring, or uncertain symptoms—use a multimeter and follow manufacturer guidance, or consult a qualified technician.

