This pillar page is designed for DIY homeowners and technicians who want to remove, inspect, test, or replace an electric tank water heater element without stripping threads, cracking fittings, or creating a dry-fire failure.
The fastest way to turn a simple water-heater element job into a nightmare is using the wrong socket (or the right socket the wrong way). This guide covers the most common water heater element socket sizes, the essential tools that make removal and reinstallation safer, and the practical “why” behind each tool—so you’re prepared before you open the first access panel.
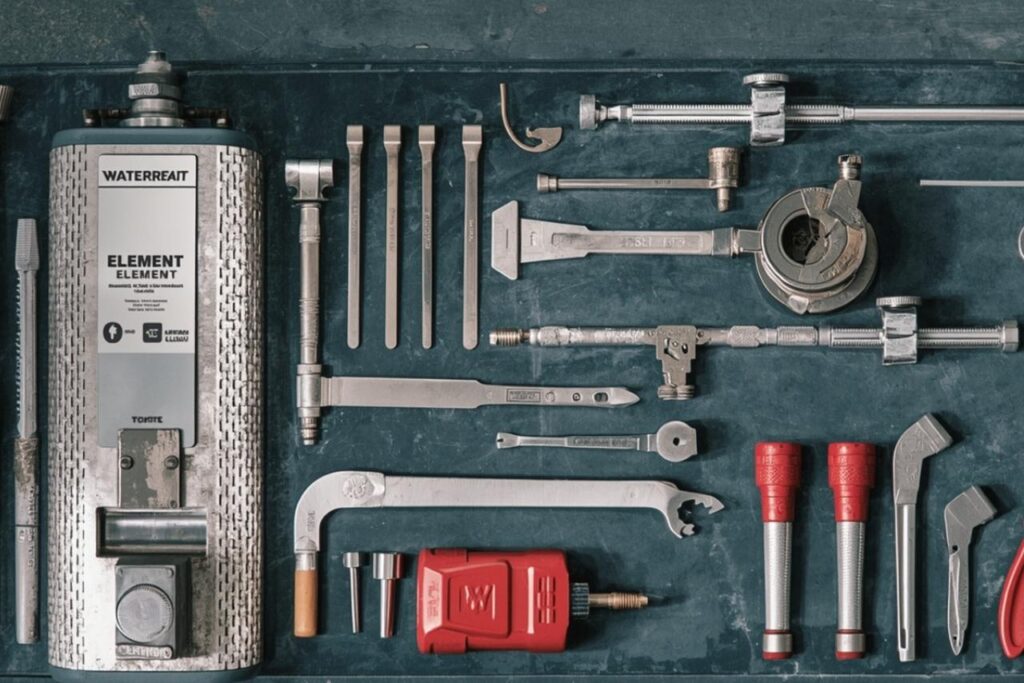
- 1) Water heater element socket size: what fits most elements
- 2) Essential tools list (with what each tool solves)
- 3) Nice-to-have tools for stubborn elements and clean installs
- 4) Safety tools and preparation (electric + water)
- 5) Tool-by-tool workflow: from shutoff to power-on
- 6) Common mistakes: rounding, leaks, dry firing, and false tests
- FAQ
1) Water heater element socket size: what fits most elements
For many screw-in electric water heater elements, the standard hex is removed using an element wrench or a 1 1/2″ deep well socket. This is one of the few “hard” tool facts that shows up consistently in manufacturer guidance.
- 1 1/2″ deep well socket (fits many water heater element hex heads)
- Water heater element wrench (specialty tool shaped for the element hex)
Why “deep well”? Many elements have terminals that protrude beyond the hex. A shallow socket can bottom out on the terminals, forcing you to tilt or partially engage the hex—exactly how rounding starts.
Socket drive size and leverage
The “right” socket head is only half the story. The drive size and the tool you use to turn it matter because older elements can be seized by mineral buildup or corrosion.
| Tool choice | When it’s appropriate | Why it matters |
|---|---|---|
| Ratchet + 1 1/2″ deep socket | Normal removal, moderate torque | Fast, controlled; avoid jerky force that slips |
| Breaker bar + 1 1/2″ deep socket | Stuck/seized elements | More leverage with less chance of ratchet failure |
| Element wrench tool | When socket access is tight | Designed for element hex; still needs solid leverage |
2) Essential tools list (with what each tool solves)
A good element job uses a small kit of tools that handle four phases: electrical safety, water control, element removal/installation, and verification (leaks + air purge + heat recovery).
Electrical essentials
- Multimeter (to verify power is off; test resistance and ground faults)
- Screwdriver (covers, thermostat access, terminal screws)
- Needle-nose pliers (spade terminals, wire handling)
- Phone camera (wiring reference photos)
Water/drain essentials
- Garden hose (to drain valve)
- Bucket + towels (catch drips, avoid slips)
- Flat-blade screwdriver (some drain valves)
Element removal/installation essentials
- 1 1/2″ deep well socket (common element hex size)
- Element wrench (alternative to socket)
- Breaker bar (stuck elements)
- New gasket (always treat as replaceable)
Reassembly / commissioning essentials
- Dishwashing liquid (a drop to lubricate the gasket during tightening)
- Small brush/rag (clean tank threads/opening)
- Faucet aerator tool (optional, for easy aerator removal)
Why the gasket and thread-cleaning tools are “essential”
Many leaks aren’t from “bad elements”—they’re from damaged gaskets, dirty threads, cross-threading, or a gasket that twists as you tighten. Cleaning threads and using a tiny drop of dish soap as lubrication helps the gasket seat instead of tearing.
3) Nice-to-have tools for stubborn elements and clean installs
These tools are not required for every job, but they reduce risk when you’re dealing with older heaters, hard water, or awkward installs.
| Tool | What it helps with | When you’ll be glad you had it |
|---|---|---|
| Penetrating oil (external use only) | Helps break corrosion at external threads | Element hex looks crusty; heater is older |
| Torque wrench (with adapter/socket) | Consistent tightening without overdoing it | You tend to overtighten or are training staff |
| Wet/dry vacuum or pump | Faster draining / sediment management | Drain valve clogs repeatedly |
| Work light / headlamp | Visibility inside access panels | Basement/utility closet installs |
| Cut-resistant gloves | Protect hands from sheet metal edges | You’ve ever sliced a knuckle on a cover |
4) Safety tools and preparation (electric + water)
- Electric shock from energized terminals
- Scalding from hot water and hot metal surfaces
Electrical safety checklist (tools + actions)
- Turn the circuit breaker OFF (for electric water heaters this is commonly a 2-pole breaker).
- Use a multimeter to confirm no voltage at the element terminals before touching wires.
- Take wiring photos before disconnecting.
- Do resistance and short-to-ground tests with the element wires disconnected (isolation).
Scalding prevention checklist
- Open a hot water faucet and run until water is cool (may take 10 minutes or longer).
- Wear gloves and long sleeves if you expect hot surfaces.
- Have towels ready and keep the floor dry to prevent slips.
5) Tool-by-tool workflow: from shutoff to power-on
Below is a practical workflow that shows where each tool fits. Even if you don’t plan to replace the element today, this structure helps you avoid half-steps that create leaks or unsafe energizing.
Step-by-step: element replacement with tool callouts
A) Cool the water (scald prevention)
- Open a hot water faucet and let the water run until it is cool (may take 10 minutes or longer).
B) Shut off water supply and drain
- Turn the cold water supply OFF.
- Connect a garden hose to the drain valve; place the other end in a drain/outside/bucket.
- Open the drain valve (some valves require a flat-blade screwdriver). Open a hot faucet to help drain faster.
- Drain completely. If sediment clogs the valve and it won’t drain, stop and get qualified help.
C) Remove the old element (socket size + leverage)
- Remove wires from the element terminals (take photos first).
- Use an element wrench or a 1 1/2″ deep well socket to loosen the element.
- If it’s stuck, use a breaker bar for controlled leverage (keep the socket fully seated to avoid rounding).
D) Verify and prep the replacement element
- Verify the new element is the correct replacement by checking the water heater’s data plate for voltage and wattage.
- Clean the tank threads/opening with a rag/brush.
- Install the gasket on the element.
- Use a drop of hand dishwashing liquid to lubricate the gasket before tightening (helps prevent gasket damage while tightening).
E) Install the new element (seal and connection integrity)
- Install the element and hand tighten first.
- Tighten using the element wrench or 1 1/2″ deep well socket.
- Reconnect the power wires and ensure connections are tight.
- Do not turn the power back on until the tank is completely full of water.
F) Refill tank, purge air, and leak check
- Close the drain valve. Turn cold water supply ON to refill the tank.
- Remove the aerator on the nearest hot water faucet (helps flush debris).
- Open a hot water faucet and allow it to run until full stream; keep it running for THREE MINUTES to remove air.
- Close faucet, replace aerator.
- Check the element for leaks. If it leaks, tighten until it stops; if it won’t stop, drain and inspect/replace the gasket and reinstall.
G) Reassemble covers and restore power
- Replace plastic protector (if present), insulation, and heating element cover(s).
- Ensure covers are secured to reduce fire and electric shock risk.
- Turn power back ON at the breaker. It may take up to two hours for the tank to heat up.
6) Common mistakes: rounding, leaks, dry firing, and false tests
Mistake #1: Using the wrong socket (or the right socket poorly)
A shallow socket can hit terminals; an adjustable wrench can slip; a poorly seated socket rounds the hex. Use a 1 1/2″ deep well socket (or element wrench), keep it straight, and apply smooth force.
Mistake #2: Powering on before the tank is full
This is the fastest way to destroy a new upper element. Always refill and purge air (full stream for three minutes) before restoring electrical power.
Mistake #3: Reusing a damaged gasket
A gasket is cheap compared to water damage. If it looks nicked, flattened, or torn, replace it.
Mistake #4: Not checking for ground faults
A heating element can be continuous across its terminals and still be shorted to the sheath/tank (ground fault). Always perform a terminal-to-tank resistance check with a multimeter when diagnosing trip issues.
FAQ
Is the water heater element socket size always 1 1/2"?
Many common screw-in elements can be removed with a 1 1/2″ deep well socket or an element wrench, which is why that size is widely recommended. However, variations exist across models and designs. If your socket doesn’t fully seat on the hex, stop and confirm the element type before forcing it.
What’s the minimum tool kit to replace an element safely?
At minimum: a 1 1/2″ deep well socket (or element wrench), ratchet/breaker bar, screwdriver, garden hose, bucket/towels, a new gasket, and a multimeter to verify power off and diagnose. The procedure steps (cool water, drain, refill, purge air) are as important as the tools.
Do I need a multimeter if I’m only replacing the element?
You should still verify the circuit is de-energized before touching wires. If you don’t have a way to verify, consider hiring a technician. Also, a meter helps you confirm whether the old element was open or shorted, which can prevent repeated failures.
Why remove the aerator and run water for three minutes after refilling?
Removing the aerator helps flush debris and allows air to escape. Running the hot water until full stream and continuing for three minutes purges air so the tank fills completely. This is a key step to prevent dry firing when power is restored.
Disclaimer: This page is general information and does not replace your water heater’s printed owner’s manual, safety labels, or local code requirements. If you encounter stuck drain valves, extensive corrosion, repeated breaker trips, or uncertainty about electrical verification, contact a qualified technician.

