
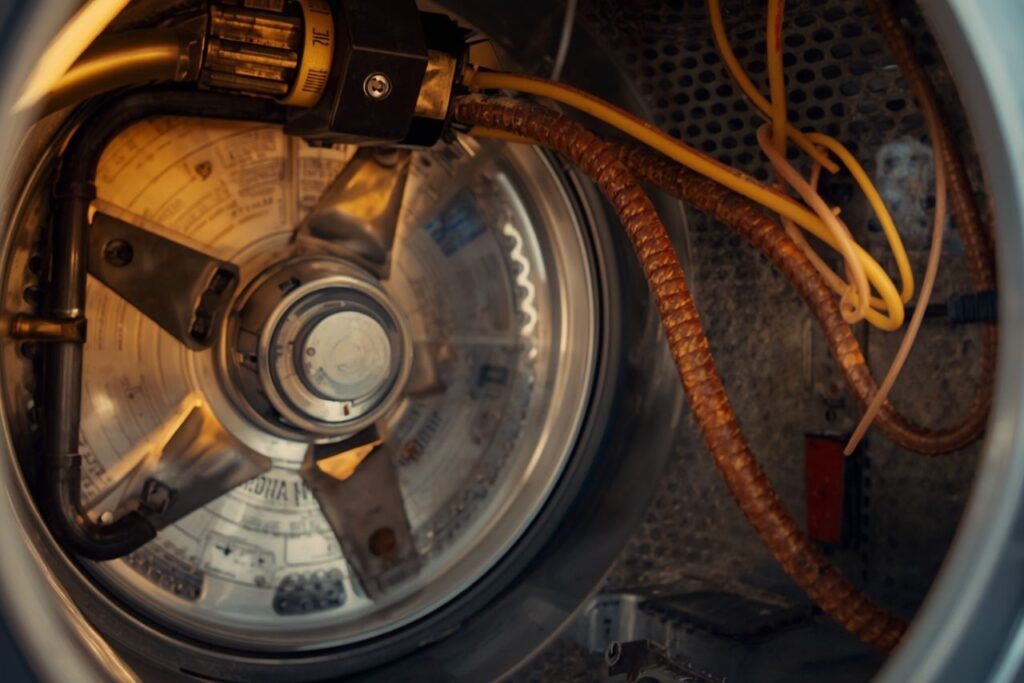
Replacing a Frigidaire dishwasher heating element is safest and most successful when handled as a controlled maintenance workflow: confirm the correct part by matching **voltage** and **wattage** to the appliance information, isolate electrical power, remove water pressure and residual water, access the heater circuit, replace the element as an **assembly** (element body plus terminals and seals), reassemble all covers, then validate heating performance with a short monitored test run. This approach reduces repeat failures linked to loose terminals, sealing issues, or mismatched ratings—common hidden costs in heater replacements.
Relevant internal resources: Heating Element, Heating Element manufacturer, Heating Element Factory, Die Casting Heating Solutions.
What the dishwasher heating element does (and what “replacement” really includes)
In an electric heating system, the heat-producing portion is only one part of the overall component. Engineering guidance frames a heating element as a component that combines electrically conductive material with an insulating/support framework and lead connectors—built to serve a specific heating purpose. In practical appliance repair terms, “replacing the heater” often means restoring a small system: element, electrical connections, mounting hardware, sealing surfaces, and safe reassembly.
Section summary
A heater replacement should be treated as an assembly-and-safety restoration, not a single-part swap.
Symptoms that point to a heater issue (and what else to check)
Dishwasher heater problems can present as poor drying, low wash temperature, extended cycle time, or error codes on models that monitor heating performance. However, a non-heating symptom does not automatically confirm a failed element; wiring, terminals, control logic, and safety devices can create similar symptoms.
| Observed symptom | Heater-related possibilities | Other common possibilities |
|---|---|---|
| Dishes remain wet / poor drying | Open heater circuit, damaged terminals, heater not energized | Rinse aid absence, venting/fan issues (model-dependent), control/sensor behavior |
| Water not heating during wash | Element open, connector overheating, wiring fault | Thermostat/sensor issue, control board, insufficient incoming hot water |
| Breaker trips during heat | Short to chassis, insulation breakdown, moisture at terminals | House wiring/circuit issue; other loads on the circuit |
Section summary
The heater is a frequent culprit, but diagnosis should also consider wiring integrity, terminal condition, and control/sensing inputs.
Part identification: model, rating, and compatibility checks
The most reliable way to prevent wrong-part installation is to identify the exact dishwasher model and match the heater’s required specifications. Manufacturer-style guidance for heating element replacement emphasizes verifying the new element is the correct replacement by referencing the equipment data plate for **voltage** and **wattage**, then ensuring wiring connections are tight before restoring power. That verification logic applies broadly across heating devices.
Compatibility checklist (procurement-grade)
- Confirm appliance model/serial from the unit label
- Confirm heater style and mounting geometry
- Match **voltage** and **wattage** requirements
- Verify terminal type and connector orientation
- Check gasket/seal inclusion (or plan to replace seal)
- Confirm return/warranty terms from the supplier
- Prefer listings with clear specs and approvals where applicable
- Document part numbers and photos before disassembly
Why spec transparency reduces downtime
Product listings that clearly disclose power rating, materials, ingress protection, approvals, and warranty/returns help buyers avoid mismatches. A plug-in heating element listing, for example, explicitly discloses **1000W** power, **UL approval**, **IP67** ingress rating, materials (ABS + stainless steel), and a **2-year warranty**—the style of disclosure that supports faster, lower-risk procurement even when the application differs.
| Spec field | Why it matters | What happens when ignored |
|---|---|---|
| Voltage & wattage | Keeps heat output and electrical load in design range | Underheating, overheating, nuisance trips, control errors |
| Material / corrosion resistance | Dishwashers are wet, detergent-exposed environments | Shortened heater life or terminal corrosion |
| Seal/gasket design | Prevents leaks into the base and onto electrical components | Leaks, safety shutdowns, electrical faults |
| Warranty/returns | Reduces total cost when the first part is wrong/defective | More downtime and repeat shipping/labor costs |
Section summary
Matching ratings and geometry, plus selecting suppliers with transparent specifications and return policies, is a high-leverage step in heater replacement.
Tools, materials, and pre-job staging
Efficient replacement is mostly preparation. Pre-staging reduces time with the unit pulled out and lowers the chance of missed steps during reassembly.
Recommended tool and material set
- Screwdrivers/nut drivers (as required by the model)
- Pliers for connectors (grip connector body, not wire)
- Multimeter for continuity/ohms checks
- Towels + shallow pan for residual water
- Replacement element + correct gasket/seal
- New high-temperature terminals (if heat-damaged)
- Camera/phone for wiring documentation
- Work light and protective gloves
LSI keyword set used naturally in this section
**dishwasher heating element replacement**, **Frigidaire dishwasher not heating**, **no dry heat**, **heater circuit**, **thermal cutout**, **continuity test**, **resistance (ohms)**, **wire terminals**, **gasket seal**, **leak check**.
Section summary
Proper staging (tools, gasket, terminals, documentation) is often the difference between a clean repair and a repeat disassembly.
Step-by-step replacement workflow (service-safe sequence)
The sequence below is written to be model-agnostic while aligning with manufacturer-grade safety logic: isolate power, prevent scalding and water exposure, remove the old part carefully, verify the new part matches required specs, restore tight electrical connections, and reinstall all covers before re-energizing.
Safety boundary (non-negotiable)
Electricity + water is a high-risk combination. Power should remain disconnected until the unit is fully reassembled and the work area is dry. Guidance for heating-element replacement in other appliances explicitly warns to follow safety precautions, verify proper replacement specs, keep wire connections tight, and secure covers to reduce fire and electric shock risks.
1) Isolate the dishwasher and prepare for water handling
- Disconnect electrical power at the breaker (and confirm the dishwasher is de-energized).
- Shut off the water supply to the dishwasher.
- Protect the floor with towels; stage a shallow pan for residual water.
2) Gain access to the heater circuit (base area)
- Remove the lower access panel / toe-kick (fasteners vary by model).
- Locate the heater terminals and wiring harness routing.
- Photograph connector positions and wire colors before disconnecting anything.
3) Disconnect terminals and inspect for heat damage
A heating element is an assembly; terminals and connection quality directly influence reliability. Loose spade terminals can become localized heating points.
- Disconnect heater wires by pulling on the connector body (not the wire).
- Inspect for discoloration, softened insulation, corrosion, or looseness.
- Replace compromised terminals rather than reusing them.
4) Remove the old element and seal surfaces
- Release mounting hardware or retaining features holding the element.
- Remove the element carefully and capture any residual water.
- Clean the mating/sealing area so the new gasket can seat properly.
5) Verify the replacement element before installation
A best-practice verification step is to match the replacement to the appliance’s **voltage** and **wattage** requirements (data plate logic), and confirm the geometry and terminals match the old unit. This reduces rework and prevents overheating or control faults.
| Verification point | Pass criteria | Why it matters |
|---|---|---|
| Electrical rating | Matches required **voltage/wattage** for the dishwasher heater circuit | Stability, safety, expected wash/dry temperature performance |
| Terminal configuration | Correct connector type and orientation | Secure, low-resistance connections; reduced arcing risk |
| Seal/gasket | New or undamaged gasket properly fitted | Leak prevention into the base and electrical area |
6) Install the new element and restore wiring integrity
- Install the gasket/seal as specified for the part design.
- Mount the element without twisting or pinching the seal.
- Reconnect terminals fully and ensure connections are tight.
- Route wires away from sharp edges and hot surfaces; secure as originally configured.
7) Reassemble covers and restore services
- Reinstall base panels and any protective covers.
- Turn the water supply back on and check for visible seepage in the base area.
- Restore electrical power only after confirming the area is dry and panels are secured.
Section summary
The most reliable workflow is a safety-first sequence: isolate power, document wiring, replace seals, tighten terminals, reassemble covers, then energize.
Post-replacement validation and performance checks
Validation should confirm two outcomes: (1) the unit is watertight, and (2) heat is restored without abnormal cycling, odors, or electrical issues. In heater engineering, operating conditions and environment materially affect performance and life; verification ensures those conditions are within expectations.
Two-phase validation plan
Phase A: Leak inspection after water is restored (before running a full cycle).
Phase B: Short monitored cycle to confirm heating behavior and drying improvement.
| Checkpoint | What to observe | If it fails |
|---|---|---|
| Leak check | No drip, no dampness around heater seal and base | Stop; reseat/replace gasket; inspect sealing surface |
| Electrical stability | No breaker trip, no arcing, no burning insulation smell | Stop; inspect terminals/wiring; professional evaluation recommended |
| Heat recovery | Improved drying and expected wash temperature behavior | Check sensors/control logic and wiring continuity |
Section summary
A correct install is validated by a dry base, stable electrical operation, and measurable drying/heating improvement.
Cost drivers and failure-prevention: the “hidden” expenses
Heater replacements carry costs beyond the part itself. Engineering commentary highlights “less obvious costs” such as assembly time, rework when a wrong part is sourced, field replacement labor, and performance losses. In appliances, additional hidden costs often come from repeat leaks (seal issues) and repeat overheating (terminal problems).
| Cost driver | What it looks like in a dishwasher heater job | Mitigation |
|---|---|---|
| Wrong part / mismatch | Incorrect rating or mounting geometry leads to rework | Verify **voltage/wattage** and fit before installation |
| Repeat disassembly | Leak requires pulling the unit out again | Replace gasket; clean sealing surfaces; tighten correctly |
| Connector degradation | Loose terminals create hot spots and intermittent heat | Replace heat-damaged spades; ensure tight connections |
| Environment / contaminants | Moisture and detergent exposure accelerate corrosion | Choose appropriate materials; protect wiring routing |
Where product engineering and manufacturing capability fits (context for buyers)
Heating technologies vary by application: **tubular heaters** often use resistance wire with insulating powder inside a metal sheath; **heating plates** are built for uniform surface heat distribution; and thin **heating film** solutions are designed for compact spaces and rapid, uniform heating. Manufacturing programs that offer full-chain design-to-production capability and certified quality systems can support consistent heater performance across high-volume appliance programs.
Industry context from Jinzhong Electric Heating
Jinzhong positions its offering around custom heating elements for home appliances and industrial equipment, spanning **Heating Tubes**, **Heating Plates**, and **Heating Films**, and also provides **Die Casting Heating Solutions** integrating heating elements with metal die-cast modules for durable, uniform heat sources. The company describes multi-certification support (e.g., ISO systems and other compliance marks) and scalable manufacturing capabilities—signals buyers often use when qualifying suppliers for repeatable production and consistent quality.
Section summary
Replacement cost is driven by part correctness, sealing integrity, terminal quality, and environmental suitability—not only by the sticker price of the element.
FAQ
1) Is a dishwasher heating element just a coil, or more than that?
Engineering definitions describe a heating element as an assembly combining conductive material with insulation/support and lead connectors. In appliance repair, terminals, seals, and wiring condition often determine whether the replacement is durable.
2) What is the single most important check before installing the new element?
Matching the correct replacement to the appliance’s required **voltage** and **wattage** is a high-leverage check. This verification step is explicitly emphasized in manufacturer-style heating element replacement guidance and helps prevent performance and safety problems.
3) What should be done if a leak appears after replacement?
The cycle should be stopped and the base dried. The seal/gasket should be inspected for damage or mis-seating, the sealing surface cleaned, and the element reinstalled with correct seating and tightness. Re-energizing should wait until the area is dry and covers are secured.
Conclusion
A high-quality heating element replacement in a Frigidaire dishwasher depends on disciplined sequencing: confirm the correct rating and fit, isolate power and water, document wiring, replace the heater as an assembly including seals and terminals, restore tight connections, secure all covers, and verify performance with a leak check followed by a monitored test cycle. This method aligns with engineering guidance on heating element design and with manufacturer-grade safety and verification principles, improving both reliability and total repair value.
Cited sources & outbound links
Engineering overview of heating elements (assembly concept, material properties, suspended/embedded/supported frameworks, watt density, environment, and hidden costs):
https://tutco.com/conductive/heating-elements
Safety/verification principles for heater replacement (verify replacement by data plate voltage/wattage; keep wire connections tight; secure covers; restore power after safe conditions):
https://www.whirlpoolwaterheaters.com/support/help/element-was-out-of-range/24
Example of specification transparency for a heating element listing (power rating, materials, ingress protection, approvals, warranty/returns):
https://usa.hudsonreed.com/1000-plug-in-watt-electric-heating-element-76309
Jinzhong Electric Heating product and capability context (heating element categories; die-casting integrated thermal modules; manufacturing and certification framing):
https://jinzho.com/
https://jinzho.com/product-category/heating-element/
https://jinzho.com/product-category/heating-element/heating-tubes/
https://jinzho.com/product-category/heating-element/heating-plate/
https://jinzho.com/product-category/heating-element/heating-film/
https://jinzho.com/product-category/die-casting-heating-solutions/
https://jinzho.com/about/
Editorial note (EEAT): This article is written for informational purposes. Procedures vary by dishwasher model and local code requirements; if diagnosis requires live electrical testing or if leaks persist, qualified service is recommended.

