
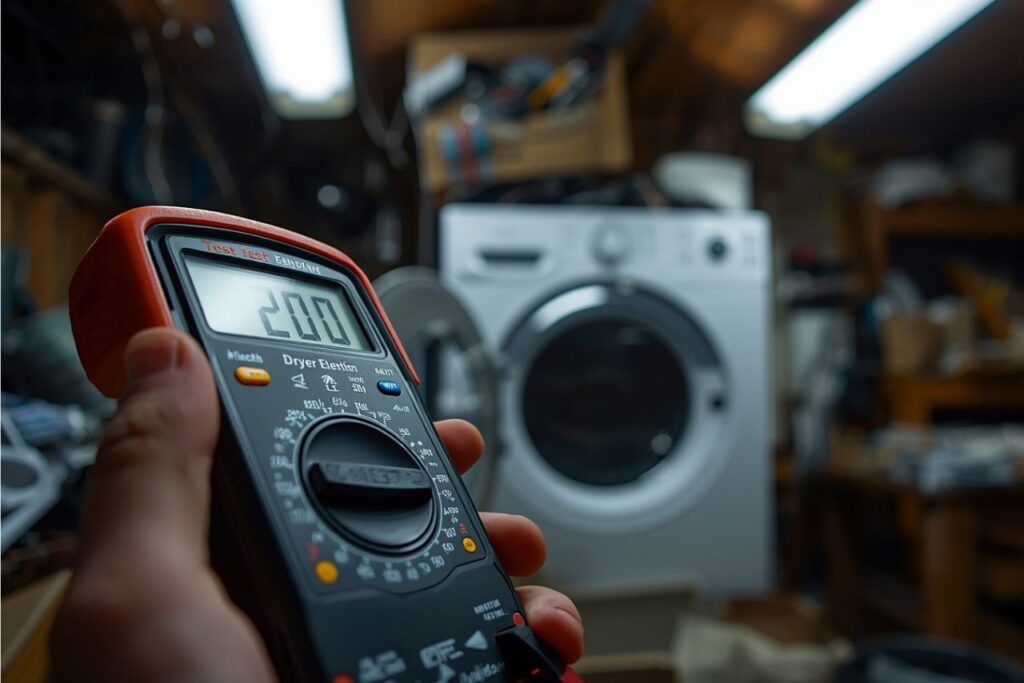
A dryer that tumbles but won’t heat is one of the most common appliance complaints—and one of the easiest to diagnose if you use a multimeter correctly. The “pro” approach is not to guess the part. It’s to isolate the heating circuit, test the heating element for the right resistance/continuity, and then test for shorts to the metal heater housing (ground). This article walks you through a repeatable workflow that avoids the most common false readings and helps you decide whether the heater coil is actually bad—or whether the real problem is a thermal fuse, thermostat, wiring, airflow restriction, or power-supply issue.
- 1) Safety and dryer heat basics
- 2) Tools, access points, and how to avoid false readings
- 3) How a dryer heating element works (in plain English)
- 4) Multimeter tests: continuity, resistance, and short-to-ground
- 5) Interpreting results: what “good” looks like
- 6) If the element tests good: the next 6 checks
- 7) Pro tips: airflow, wiring heat, and failure prevention
- FAQ
1) Safety and dryer heat basics
Electric dryers typically heat with a resistive heating element mounted inside a metal heater housing. As air flows across the hot coil, the drum receives warm air and moisture is carried out through the exhaust. When there’s no heat, the most common causes are:
- A burned/open heating element coil
- A blown thermal fuse or open high-limit thermostat
- A faulty cycling thermostat or temperature sensor
- Restricted airflow (lint clog, crushed vent, blocked outside hood)
- Power-supply problem (one leg of 240V missing, loose terminal block)
2) Tools, access points, and how to avoid false readings
The only “required” tool for diagnosis is a multimeter. A nut driver or socket set helps you access panels. A phone camera is your best wiring insurance: take a clear photo before you remove any connectors.
Where the heating element is (typical layouts)
Rear access designs
Many dryers place the heater housing behind the rear panel. You remove the rear panel, locate the heater can/housing, and find two element terminals (often on a ceramic or insulated block).
Front/lower access designs
Some models place access behind a lower front panel or inside a side panel. If you don’t see the heater behind the rear panel, consult the service manual for your model’s access path.
How pros avoid false readings
| Mistake | What happens | Pro fix |
|---|---|---|
| Measuring the element without isolating at least one lead | You measure through other components and get a misleading reading | Remove at least one wire from the element terminal before testing |
| Using continuity beep only | A weak/partial failure may still “beep,” or the meter beeps through another path | Use continuity as a quick screen, then confirm with resistance (Ω) |
| Skipping the short-to-ground test | Element can be “continuous” yet still short to the metal housing | Test each terminal to the heater’s metal frame/housing |
3) How a dryer heating element works (in plain English)
A dryer heating element is typically a coil of resistance alloy wire formed into a shape that provides lots of hot surface area. That coil is supported by insulating materials and mounted inside a metal duct or housing. When powered, it converts electrical energy into heat (resistive/Joule heating). The blower forces air across it; the drum and clothes receive heated airflow; the exhaust carries moisture away.
Materials and design matter. Resistance alloys can behave differently depending on composition and trace elements. Heat, vibration, airflow, and contaminants (lint, moisture, chemical residues) all affect element life. That’s why two “similar-looking” elements can differ in durability, and why airflow problems can cause repeated element failures.
4) Multimeter tests: continuity, resistance, and short-to-ground
You will perform two decisive tests: (A) resistance across the element terminals, and (B) resistance from each terminal to the heater housing/frame (ground).
Step 1: Disconnect power and open the access panel
- Unplug the dryer (or turn off the breaker for hardwired units).
- Remove the necessary panel (rear, lower front, or side, depending on model).
- Locate the heater housing and identify the element terminals (usually two spade connectors).
Step 2: Isolate the element (critical)
Pull at least one wire off an element terminal. If you leave both wires connected, the meter may read through thermostats, timers, or other branches and fool you. Take a photo first so you reconnect correctly.
Test A: Continuity / resistance across the element terminals
- Set the multimeter to resistance (Ω). If your meter has auto-range, that’s fine.
- Touch one probe to each element terminal.
- Record the reading.
- OL / infinite resistance = open element (failed)
- A stable, finite resistance = element conductor likely intact
- Wildly unusual or drifting readings can indicate a poor connection, partial break, or testing through another path (re-check isolation)
Test B: Short-to-ground (terminal to heater housing/frame)
This is the test many DIYers skip. A heating coil can be continuous and still short against the metal housing. That can cause breakers to trip or heating to behave erratically.
- Keep the element wires disconnected (still isolated).
- Touch one probe to an element terminal.
- Touch the other probe to bare metal on the heater housing or dryer frame.
- Repeat for the other terminal.
5) Interpreting results: what “good” looks like
| Across terminals (Ω) | Terminal → housing | Diagnosis | What to do next |
|---|---|---|---|
| OL / ∞ | No continuity | Open element | Replace the heating element |
| Finite, stable Ω | No continuity | Element likely OK | Check thermal fuse, thermostats, airflow, power supply |
| Finite or abnormal Ω | Continuity / low Ω | Short-to-ground | Replace element; inspect heater housing/insulators and wiring |
| Unstable / suspicious | Varies | Possible bad connection or not isolated | Re-check isolation, clean terminals, test again |
6) If the element tests good: the next 6 checks
A “good” element does not guarantee heat. The dryer must also (1) deliver correct power, (2) allow safe temperature control, and (3) move enough air. Here’s the pro order of operations:
1) Thermal fuse
Many dryers include a one-time thermal fuse that opens if overheating occurs. If it’s open, the dryer may run but never energize heat (model-dependent). Test it for continuity with the dryer unplugged.
2) High-limit thermostat
This safety device opens when temperature is too high. If it fails open, you can lose heat. Test for continuity at room temperature.
3) Cycling thermostat / thermistor
The cycling control tells the heater when to turn on/off. If it fails, you can get no heat or overheating. Testing depends on part type (thermostat vs thermistor).
4) Centrifugal switch / motor heat switch
Many designs only allow heat when the motor is running. If the switch is faulty, the element may never receive power even if the element is good.
5) Power supply (electric dryers)
An electric dryer can tumble on 120V but needs full 240V (both legs) to heat. A loose cord, burned terminal block, or a tripped half-breaker can cause “runs but no heat.”
6) Airflow restriction (the silent heater killer)
A clogged lint filter housing, blocked vent, crushed flex duct, or stuck exterior flap can overheat the heater area and blow fuses/thermostats—or shorten element life. Verify strong exhaust airflow outside.
7) Pro tips: airflow, wiring heat, and failure prevention
Airflow is part of the heating system
Heating elements are designed to operate in a specific environment. If airflow is restricted, the coil temperature rises, stress increases, and protective devices open. From an engineering standpoint, element life is influenced by operating temperature, oxidation behavior, thermal cycling, and mechanical support. That’s why “clean the vent” is not just a maintenance tip—it’s a reliability strategy.
Inspect connectors and the terminal block
If you see discolored spade terminals, melted plastic, or brittle wire insulation, fix it. High resistance at a connector creates heat, which can cause intermittent failures and new part damage.
Why manufacturers talk about “framework” and “materials”
Heater performance and longevity depend on the alloy and the insulating supports that hold it in place. In supported/suspended designs (common in airflow heaters), sag and contact points matter. Trace elements and alloy composition can change properties like oxide adhesion and life at temperature. Good design reduces hotspots and improves reliability.
FAQ
Do I need to remove the heating element to test it?
Usually no. You can test it at the terminals as long as you isolate at least one lead wire. You only remove the element if you are replacing it or inspecting for physical damage.
My meter beeps for continuity. Does that guarantee the element is good?
Not by itself. Continuity only tells you there is some conductive path. You still need a stable resistance reading and a short-to-ground test (terminal to heater housing/frame). Also ensure the element is isolated, or the beep may be through other components.
The element tests good, but the dryer still won’t heat. What’s the most common next failure?
Common next checks are the thermal fuse and high-limit thermostat, followed by airflow restrictions and power-supply issues (especially missing one leg of 240V on electric dryers).
How can I reduce the chance of repeating heater failures?
Keep vents clear, ensure the outside exhaust flap opens freely, clean lint paths regularly, and repair overheated connectors or terminal blocks. Overheating from restricted airflow is a frequent root cause of repeated thermal fuse and heater damage.
Disclaimer: This article is general information only. Always follow your specific dryer’s service instructions and local safety practices. If you encounter damaged wiring, signs of arcing, or uncertainty about electrical measurements, consult a qualified technician.

