
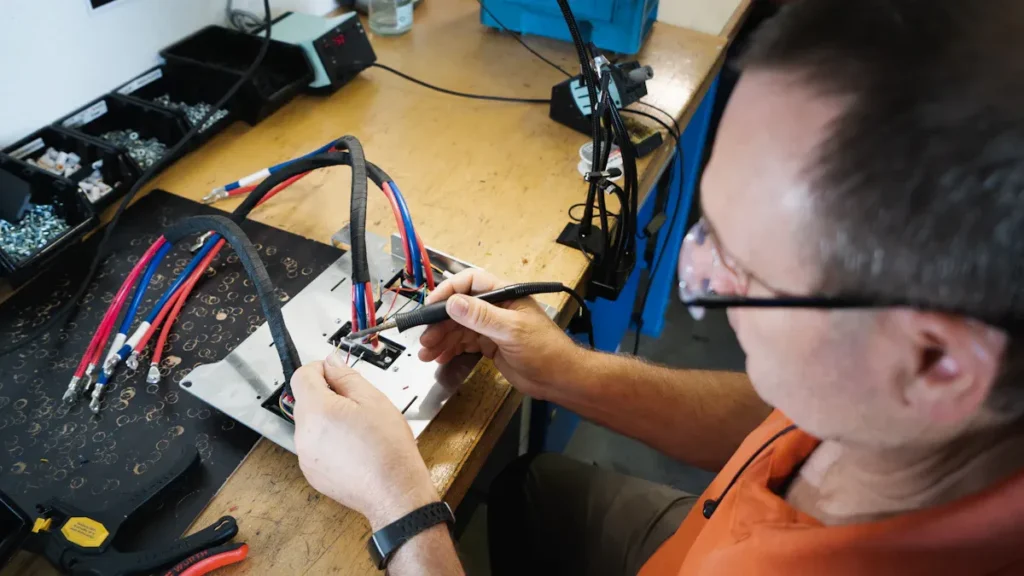
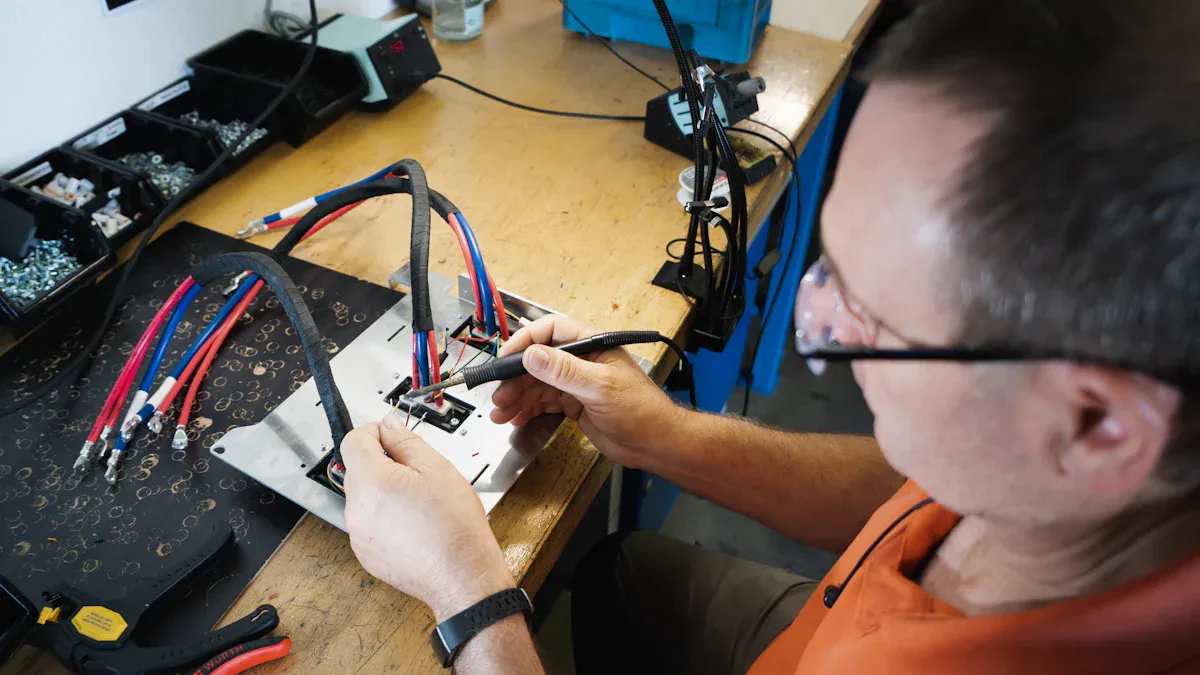
Cuando su secadora Maytag deja de producir calor, probablemente se enfrente a una molesta demora en el lavado de la ropa. Un elemento calefactor defectuoso suele causar este problema en un electrodoméstico Maytag. Puede restaurar el rendimiento de su secadora con las herramientas adecuadas y los pasos de reparación correctos. Tome medidas para solucionar el problema y mantenga su ropa seca después de cada ciclo.
Secadora Maytag No Calienta: Confirme que el Elemento Calefactor es el Problema
Cuando su secadora Maytag dejó de calentar, debe confirmar la causa raíz antes de comenzar cualquier reparación. El elemento calefactor a menudo falla, pero otros componentes también pueden provocar una falta de calor. Al reconocer los síntomas correctos y realizar verificaciones rápidas, puede evitar reemplazos de piezas innecesarios y restaurar el rendimiento de su secadora de manera eficiente.
Señales de que el Elemento Calefactor de su Secadora Maytag Está Roto
La Ropa Permanece Mojada Después de un Ciclo Completo
Puede notar que su ropa permanece húmeda o mojada incluso después de ejecutar un ciclo de secado completo. Este síntoma a menudo apunta a un problema de calefacción. El elemento calefactor de su secadora es responsable de generar el calor necesario para secar su ropa. Cuando falla, el aire dentro del tambor permanece frío y su ropa no se seca como se espera.
La secadora funciona pero no produce calor
Si su secadora se enciende, gira y completa los ciclos pero no produce calor, el elemento calefactor podría ser el culpable. Según las pautas del fabricante y los expertos en reparación, un elemento calefactor roto impide que la secadora caliente el aire, lo que resulta en un secado ineficaz. También podría observar que sus facturas de energía aumentan, ya que la secadora funciona más tiempo sin secar la ropa adecuadamente.
Códigos de error o luces de advertencia
Algunos modelos Maytag muestran códigos de error o luces de advertencia cuando el sistema de calefacción funciona mal. Estas alertas pueden indicar un problema con el elemento calefactor o componentes relacionados. Consulte siempre su manual de usuario para interpretar estos códigos con precisión.
Consejo: Si ve códigos de error, anótelos antes de desenchufar la secadora. Esta información puede ayudarle a usted o a un técnico a diagnosticar el problema más rápido.
Verificaciones Rápidas Antes de Reemplazar el Elemento Calefactor
Antes de reemplazar el elemento calefactor, realice algunas verificaciones esenciales. Muchos problemas pueden causar que una secadora Maytag no caliente, por lo que un diagnóstico exhaustivo ahorra tiempo y dinero.
Verifique la Fuente de Alimentación y la Configuración de la Secadora
Primero, verifique que su secadora esté enchufada de forma segura y que la configuración sea correcta. A veces, un simple error como seleccionar un ciclo de aire frío o sin calor puede hacer que parezca que la secadora no funciona. Además, asegúrese de que la puerta cierre correctamente, ya que algunos modelos no calentarán si el interruptor de la puerta no está activado.
Inspeccione el Disyuntor y los Fusibles
Un disyuntor disparado o un fusible fundido pueden interrumpir la alimentación del elemento calefactor. Revise el panel eléctrico de su hogar y restablezca cualquier disyuntor disparado. Reemplace los fusibles fundidos si es necesario. Los problemas de suministro eléctrico son una causa común de fallos de calefacción en las secadoras.
Descarte el Fusible Térmico y los Termostatos
El fusible térmico y los termostatos protegen su secadora del sobrecalentamiento. Si alguno de estos componentes falla, la secadora dejará de calentar. Use un multímetro para probar la continuidad de estas piezas. Si no muestran continuidad, reemplácelos antes de considerar el elemento calefactor. Los profesionales de reparación de electrodomésticos recomiendan verificar estos componentes porque son culpables frecuentes junto con el elemento calefactor.
- El Causas más comunes de que una secadora Maytag no caliente incluir:
- Elemento calefactor defectuoso
- Fusible térmico defectuoso
- Termostatos defectuosos (cíclico y de límite máximo)
- Problemas de suministro eléctrico
- Ventilaciones obstruidas o configuración incorrecta
Siguiendo estos pasos, puede identificar con precisión si el elemento calefactor u otra pieza es responsable de que su secadora Maytag no caliente.
Cómo Reparar: Reúna Herramientas y Piezas de Repuesto para su Secadora Maytag
Antes de comenzar cualquier reparación, debe reunir las herramientas y piezas adecuadas. Tener todo listo le ayudará a completar el trabajo de manera eficiente y segura. Esta sección explica lo que necesita y cómo elegir el elemento calefactor de repuesto correcto para su secadora Maytag.
Herramientas esenciales necesarias
Destornilladores Phillips y Planos
Necesitará destornilladores Phillips y de punta plana para quitar e instalar tornillos en los paneles de su secadora. Estas herramientas le ayudan a acceder a los componentes internos sin dañar los tornillos ni el electrodoméstico.
Destornillador para tuercas o llave de vaso
Un destornillador de vaso o llave de vaso le permite quitar los pernos que aseguran el elemento calefactor y otras piezas. Elija el tamaño correcto para su modelo específico para evitar dañar el herraje.
Multímetro para Probar Continuidad
Un multímetro es esencial para probar la continuidad eléctrica. Puede usarlo para verificar si el elemento calefactor, el fusible térmico o los termostatos están funcionando. Esta herramienta le ayuda a confirmar qué pieza necesita reemplazo antes de continuar.
Guantes de trabajo y gafas de seguridad
Use guantes de trabajo y gafas de seguridad para proteger sus manos y ojos durante la reparación. Los bordes afilados dentro de la secadora pueden causar lesiones. El equipo de seguridad también lo protege del polvo y los residuos.
Los expertos en reparación de electrodomésticos recomiendan un destornillador múltiple como la herramienta más importante para reemplazar un elemento calefactor en una secadora Maytag. Esta herramienta le permite manejar diferentes tipos de tornillos durante el desmontaje y montaje. Siempre desenchufe la secadora o apague el disyuntor antes de comenzar cualquier reparación para evitar accidentes eléctricos.
Cómo elegir el elemento calefactor adecuado
Localice el Número de Modelo de su Secadora Maytag
Debe encontrar el número de modelo de su secadora antes de comprar una pieza de repuesto. El número de modelo generalmente está en una etiqueta dentro del marco de la puerta o en el panel trasero. Anótelo o tome una foto como referencia.
Compre un Elemento Calefactor de Repuesto Compatible
Cuando compre un nuevo elemento calefactor, haga coincidir el número de pieza del fabricante con el modelo de su secadora. Elija siempre una pieza OEM (Fabricante de Equipo Original) para garantizar un ajuste y funcionamiento adecuados. Por ejemplo, la Maytag DE482 utiliza el Elemento Calefactor OEM (240V) con el número de pieza WPY313538. Esta pieza también se adapta a algunos modelos Jenn-Air y Kenmore.
- El uso de la pieza OEM correcta previene:
- Rendimiento de calefacción inconsistente o deficiente.
- Daños a otros componentes internos por sobreesfuerzo.
- Peligros de seguridad, como la exposición a corriente eléctrica activa.
El uso de un elemento calefactor incompatible puede provocar tiempos de secado más largos, daños a su electrodoméstico o incluso riesgos eléctricos. Siempre verifique dos veces el número de pieza antes de realizar una compra.
Al preparar las herramientas adecuadas y seleccionar la pieza de repuesto correcta, se prepara para una reparación exitosa. Ahora sabe cómo reparar su secadora Maytag con confianza y seguridad.
Reparación de Secadora Maytag: Precauciones de Seguridad Antes de Comenzar
Antes de comenzar cualquier reparación de la secadora, debe tomarse la seguridad en serio. Seguir las precauciones correctas lo protege de peligros eléctricos, quemaduras y otros riesgos comunes. Maytag y las organizaciones de seguridad de electrodomésticos recomiendan varios pasos esenciales para mantenerlo a usted y a su hogar seguros durante el proceso de reparación.
Desconecte la Alimentación y Prepare el Área de Trabajo
Desenchufe la Secadora o Apague la Alimentación en el Disyuntor
Usted debe desconecte toda la alimentación de su secadora antes de comenzar cualquier reparación. Desenchufe el electrodoméstico de la toma de corriente o apague el disyuntor que suministra electricidad a la secadora. Este paso evita descargas eléctricas accidentales y elimina el riesgo de quemaduras por cables con corriente. Muchos incidentes de seguridad durante reparaciones de bricolaje ocurren porque las personas olvidan desconectar la alimentación. Siempre verifique dos veces que la secadora no pueda encenderse mientras trabaja.
Consejo: Si posee una secadora a gas, cierre también el suministro de gas. Esta acción evita fugas de gas y reduce el riesgo de explosiones.
Mueva la Secadora para un Fácil Acceso
Aleje su secadora de la pared para crear suficiente espacio para la reparación. Necesita acceso claro al panel trasero o delantero, dependiendo de su modelo. Coloque la secadora sobre una superficie plana y estable para evitar que se vuelque. Un espacio de trabajo bien organizado le ayuda a evitar accidentes y hace que el proceso de reparación sea más fluido.
Protéjase a Sí Mismo y a su Hogar
Use Equipo de Seguridad
El equipo de protección personal (EPP) es esencial para una reparación segura de la secadora. Use guantes de trabajo para proteger sus manos de bordes afilados y superficies calientes. Las gafas de seguridad protegen sus ojos del polvo y los residuos. Muchos profesionales recomiendan estos artículos porque reducen el riesgo de cortes, quemaduras y lesiones oculares. También debe usar zapatos cerrados para proteger sus pies de herramientas o piezas que caigan.
Despeje el Área Alrededor de la Secadora
Retire cualquier material inflamable, como ropa, productos de limpieza o papel, del área alrededor de su secadora. Un espacio de trabajo sin desorden reduce el riesgo de incendio y facilita moverse de manera segura. Mantenga sus herramientas organizadas y asegúrese de que el área esté bien iluminada. Si nota algún olor inusual, chispas o ruidos de su secadora, detenga la reparación inmediatamente. y buscar ayuda profesional.
Nota: Limpiar regularmente el filtro de pelusa y la ventilación no solo mejora el rendimiento de la secadora, sino que también reduce los riesgos de incendio durante y después de las reparaciones.
Al seguir estas precauciones de seguridad, crea un entorno más seguro para la reparación de su secadora. También reduce el riesgo de lesiones y protege su hogar de posibles peligros. Si en algún momento no está seguro acerca de algún paso, considere contactar a un profesional capacitado para obtener asistencia.
Cómo reparar: Acceder y probar el elemento calefactor de la secadora Maytag
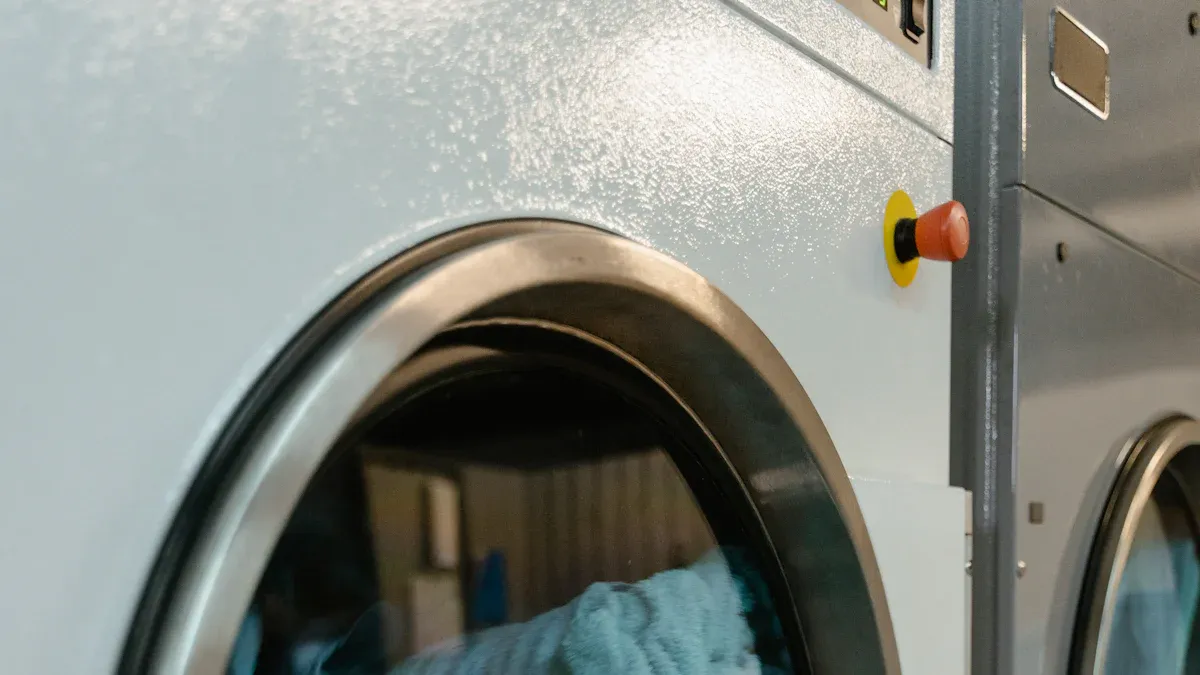
Apertura del gabinete de la secadora
Retire el panel trasero o delantero
Debe abrir el gabinete de la secadora para acceder al elemento calefactor. Siempre comience por desconectar la secadora de la fuente de alimentación. Este paso lo protege de descargas eléctricas. A continuación, retire el filtro de pelusa y déjelo a un lado. Use un destornillador de estrella para quitar los tornillos que aseguran el panel superior, que generalmente se encuentran en la parte trasera de la secadora.
Levante el panel superior y apóyelo contra una superficie estable. Desconecte con cuidado los arneses de cables y el panel de control del gabinete. Localice y retire los tornillos que sujetan el panel frontal, que suelen estar en la parte superior e inferior. Desconecte el arnés de cables del interruptor de la puerta antes de levantar y retirar el panel frontal. Si su modelo lo requiere, retire los tornillos que aseguran el tambor al tabique trasero y levante con cuidado el tambor.
Consejo: Guarde todos los tornillos y piezas pequeñas en un recipiente. Esta práctica evita la pérdida de componentes esenciales durante el reensamblaje.
Localice el conjunto del elemento calefactor
Una vez que haya retirado los paneles necesarios, localice el conjunto del elemento calefactor. En la mayoría de los modelos Maytag, encontrará el elemento calefactor en la parte trasera de la secadora, dentro de una carcasa metálica. El conjunto suele parecerse a un cable en espiral o una caja metálica con terminales para conexiones eléctricas. Tómese un momento para inspeccionar el área en busca de acumulación de polvo o pelusa, lo que puede afectar el rendimiento.
Prueba del elemento calefactor para detectar fallas
Use un multímetro para verificar la continuidad
Probar el elemento calefactor de la secadora con un multímetro le ayuda a confirmar si está defectuoso. Ajuste su multímetro a la Configuración de resistencia de 200 ohmios. Encuentre los cables del elemento calefactor; generalmente son tres cables rojos conectados a la bobina. Toque las puntas de prueba del multímetro con los dos cables de la bobina calefactora.
Si el multímetro muestra un valor numérico, el elemento calefactor tiene continuidad y probablemente funciona. Si no ve ninguna lectura, el elemento está defectuoso y necesita reemplazo. Consulte siempre el manual del fabricante si no está seguro de la ubicación de las piezas.
Nota: Siempre desconecte la secadora antes de probar cualquier componente eléctrico. Este paso garantiza su seguridad.
Busque roturas visibles o marcas de quemaduras
La inspección visual puede revelar signos evidentes de un elemento calefactor defectuoso. Busque cualquier rotura visible en la bobina o marcas de quemaduras en la carcasa metálica. Si nota olores inusuales o signos de quemaduras, es posible que el elemento calefactor o sus cables de conexión se hayan sobrecalentado o sufrido daños. El calentamiento intermitente o una secadora que no calienta en absoluto suelen apuntar a estos problemas.
- Los signos visuales comunes de un elemento calefactor defectuoso incluyen:
- Cables de bobina rotos o separados
- Marcas oscuras de quemaduras en el elemento o la carcasa
- Terminales derretidos o decolorados
Si encuentra alguno de estos signos, debe reemplazar el elemento calefactor para restaurar el rendimiento de su secadora Maytag rendimiento de su calentador de agua.
Llamada: Si no está seguro acerca de algún paso del proceso, consulte el manual de su secadora o contacte a un técnico profesional para obtener orientación.
Cómo reparar: Reemplace el elemento calefactor defectuoso en su secadora Maytag

Reemplazar un elemento calefactor defectuoso es un paso crítico para restaurar el calor y el rendimiento de su secadora. Debe seguir un enfoque sistemático para garantizar la seguridad y la eficiencia. Esta guía lo guiará a través del proceso, desde la extracción del elemento calefactor viejo hasta la instalación del nuevo.
Extracción del elemento calefactor antiguo
Desconecte los Cables y los Tornillos de Montaje
Comience asegurándose de que la secadora esté desconectada. La seguridad es lo primero. Póngase guantes de trabajo resistentes para proteger sus manos de los bordes afilados dentro del gabinete. Aleje la secadora de la pared para acceder al panel trasero o delantero, según su modelo.
Siga estos pasos para desconectar los cables y los tornillos de montaje:
- Abra la puerta de la secadora y retire los tornillos cerca de la puerta en ambos lados.
- Tire suavemente del panel frontal sujetando los bordes exteriores.
- Localice el elemento calefactor debajo del tambor, generalmente en el lado derecho.
- Retire la cubierta que protege el elemento calefactor. Esta cubierta generalmente está asegurada con un tornillo hexagonal de 1/4 de pulgada.
- Desatornille el tornillo de cabeza hexagonal de 1/4 de pulgada que sujeta el elemento calefactor al piso del gabinete.
- Retire el tornillo en la parte posterior de la carcasa del calentador en la parte superior, que lo asegura a la pared trasera.
- Antes de desconectar los cables, tome una foto clara de las conexiones del cableado. Este paso le ayuda a reconectar todo correctamente más tarde.
- Desconecte con cuidado los cables de los terminales del elemento calefactor.
Consejo: Use un recipiente pequeño para mantener todos los tornillos y sujetadores organizados durante la reparación.
Retire con cuidado el elemento calefactor
Una vez que haya desconectado los cables y retirado todos los tornillos de montaje, puede extraer el elemento calefactor. Sujete el elemento firmemente y jálelo directamente hacia afuera de la carcasa. Si su modelo tiene un termostato de alta temperatura adjunto al elemento, retírelo y déjelo a un lado para transferirlo a la pieza nueva.
Inspeccione el elemento calefactor viejo en busca de daños visibles, como bobinas rotas o marcas de quemaduras. Esta inspección confirma que ha identificado la causa correcta del problema de calentamiento de su secadora Maytag.
Instalación del nuevo elemento calefactor
Asegure el nuevo elemento en su lugar
Antes de instalar el nuevo elemento calefactor, transfiera el termostato de alta temperatura del elemento viejo al nuevo si es necesario. Coloque el nuevo elemento calefactor en la misma orientación que el original.
Siga estos pasos para asegurar el nuevo elemento:
- Deslice el nuevo elemento calefactor dentro de la carcasa, asegurándose de que encaje perfectamente.
- Alinee los orificios de montaje e inserte los tornillos de cabeza hexagonal de 1/4 de pulgada para asegurar el elemento al piso y la pared trasera.
- Vuelva a colocar la cubierta sobre el elemento calefactor y apriete el tornillo.
Nota: Verifique que el nuevo elemento esté firmemente en su lugar y no se mueva al tocarlo.
Reconecte los cables y sujetadores
Ahora, reconecte los cables al nuevo elemento calefactor. Use la foto que tomó anteriormente como referencia para asegurarse de que cada cable se conecte al terminal correcto. Asegure todas las conexiones firmemente para evitar problemas eléctricos.
Continúe con estos pasos:
- Coloque el termostato de alta temperatura en el nuevo elemento si aún no lo ha hecho.
- Vuelva a instalar el panel frontal alineándolo con el gabinete y presionándolo en su lugar.
- Inserte y apriete todos los tornillos que retiró anteriormente.
- Vuelva a colocar la secadora en su posición y enchúfela.
Llamada: Después del reensamblaje, haga funcionar la secadora vacía durante un ciclo corto para confirmar que el nuevo elemento calefactor funciona. Escuche si hay ruidos inusuales y verifique la producción de calor adecuada. Una vez que verifique el funcionamiento normal, pruebe la secadora con una carga pequeña de ropa húmeda para garantizar la funcionalidad completa.
Al seguir estos pasos, completa el núcleo de la reparación de su secadora Maytag. Ahora sabe cómo reparar un elemento calefactor defectuoso y restaurar el calor confiable a su electrodoméstico.
Maytag Dryer Not Heating: Reassemble and Test After Repair
Volver a montar la secadora
Reattach Panels and Screws
You need to reassemble your Maytag dryer carefully to ensure safe and efficient operation. Follow these steps to put everything back in place:
- Slide the drum back into the cabinet, using the belt to guide it toward the rear. Before you do this, apply fresh grease to the back shaft that supports the drum. This step reduces friction and extends the life of your appliance.
- Reinstall the plastic support on the front top rail.
- Secure the top front panel by tightening the screws inside the panel.
- Press in the tabs with a screwdriver and lower the dryer’s top from the front.
- Attach the small rear panel, making sure the belt hangs loosely.
- Loop the belt around the motor and tensioner, ensuring proper alignment.
- Double-check that all mounting screws and fasteners are tight.
Consejo: Keep all screws and small parts organized during reassembly. This practice prevents delays and ensures you do not miss any critical components.
Restore Power and Connections
Once you have reattached all panels and secured the drum, restore the power and connections:
- Plug the dryer back into the wall outlet or switch the circuit breaker back on.
- If you own a gas model, turn the gas supply back on.
- Confirm that all wiring harnesses and connectors are firmly attached.
Always verify that the area around the dryer is clear before restoring power. This step helps prevent accidental damage or fire hazards.
Prueba de funcionamiento adecuado
Run a Test Cycle to Check for Heat
After you finish reassembling the dryer, you must confirm that the repair was successful. Start by running an empty test cycle:
- Set the dryer to a high-heat setting.
- Let it run for 5–10 minutes.
- Open the door and check if the drum feels warm.
If you notice heat inside the drum, your new heating element works as intended. If the dryer does not heat, you may need to review your installation or check for other issues.
Confirm Normal Dryer Function
To ensure your dryer operates safely and efficiently, perform these additional checks:
- Verify the dryer receives 220 volts at the junction block where the power cord connects.
- Test all thermostats and thermal fuses with a multimeter, even if you recently replaced them.
- Inspect the motor connections, especially the two red wires. They must be secure.
- Check the centrifugal switch inside the motor. A faulty switch can prevent the heating element from receiving power.
If you complete these steps and the dryer still does not heat, consider that the motor may require replacement. Consult your user manual or a professional technician for further guidance.
By following these steps, you learn how to fix your Maytag dryer and restore reliable heat. Careful reassembly and thorough testing ensure your appliance runs safely and efficiently.
Preventing Future Maytag Dryer Heating Element Issues
Maintenance Tips for a Healthy Dryer
Clean the Lint Filter and Vent Regularly
You can extend the life of your Maytag appliance by following a consistent cleaning routine. Regular maintenance helps prevent your dryer from overheating and reduces the risk of the heating element failing. Appliance experts recommend these steps:
- Limpie el filtro de pelusa después de cada carga. This simple habit maintains airflow and keeps your dryer running efficiently.
- Wash the lint screen with soap and water every week or two. Fabric softener and dryer sheets can leave residue that blocks airflow.
- Vacuum the lint trap housing once a month. Lint can escape the filter and build up inside the housing, leading to overheating.
- Schedule a professional cleaning of the exhaust vent at least once a year. If you do heavy laundry loads, consider more frequent cleanings.
Consejo: A clogged vent is one of the most common reasons a Secadora Maytag stopped heating up. Keeping the vent clear ensures proper airflow and protects the heating element.
Avoid Overloading the Dryer
You should avoid overloading your dryer. Large, heavy loads restrict airflow and force the heating element to work harder. This extra strain can cause the element to overheat and fail prematurely. Instead, dry smaller loads and allow space for air to circulate. You will notice better drying results and fewer repairs over time.
- Regularly inspect the heating element for visible damage or burn marks.
- Check the washing machine connected to your dryer. Balanced loads and proper spin cycles help reduce moisture, making drying easier and less stressful on the heating element.
Cuándo Llamar a un Profesional para la Reparación de la Secadora Maytag
Persistent Heating Problems After DIY Repair
If your Maytag dryer continues to have heating issues after you have replaced the heating element and cleaned the vent, you may face a more complex problem. Persistent failures often point to faulty thermostats, electrical shorts, or a malfunctioning motor switch. These issues require diagnostic tests and specialized tools.
- Call a professional if your appliance remains unresponsive or shows signs of electrical problems.
- Ruidos inusuales, olores a quemado o fallos repetidos del fusible térmico indican fallos más profundos que requieren atención experta.
Preocupaciones Eléctricas o de Seguridad
Nunca debe intentar reparaciones que impliquen riesgos eléctricos o conexiones de gas a menos que tenga la formación adecuada. Manipular cableados o problemas de la placa de control sin experiencia puede provocar lesiones o incendios. Las secadoras de gas presentan riesgos adicionales, como fugas o exposición al monóxido de carbono.
Nota: Las reparaciones por cuenta propia pueden anular su garantía. Los técnicos certificados tienen el conocimiento y las herramientas para reparar su electrodoméstico Maytag de forma segura y eficiente.
| Aspecto | Reparación profesional | Reparación de bricolaje |
|---|---|---|
| Rango de Costo de Mano de Obra | 100 y 190 dólares por hora | Sin costo de mano de obra, solo tiempo personal |
| Rango de Costo Total de Reparación | Aproximadamente 100 a 550 | Costo solo de las piezas (varía según OEM o genérico) |
| Tasa de Éxito | Mayor debido a la experiencia y piezas de calidad | Buena si se siguen las instrucciones cuidadosamente |
Protege su inversión y seguridad al saber cuándo llamar a un profesional. Si se siente inseguro sobre cualquier reparación, busque ayuda experta para evitar daños mayores.
Reemplazar el elemento calefactor de su secadora Maytag restaura el calor confiable y mejora el rendimiento de secado. Ahorra tiempo y dinero al manejar esta reparación usted mismo, gracias al diseño fácil de usar. El mantenimiento regular, como limpiar los filtros de pelusa y los conductos de ventilación, extiende la vida útil de su electrodoméstico. Si enfrenta problemas persistentes o preocupaciones de seguridad, contacte a un técnico profesional para obtener soporte experto.
| Conclusión Clave | Beneficio |
|---|---|
| Facilidad de instalación | Proceso simple con herramientas básicas, reduciendo los costos de reparación |
| Rendimiento de Calentamiento | Calor consistente asegura un secado uniforme y menos puntos fríos |
| Longevidad | Las piezas duraderas duran 5–10 años con el cuidado adecuado |
Si se siente inseguro en cualquier paso, los servicios profesionales y los recursos en línea ofrecen orientación y tranquilidad.
PREGUNTAS FRECUENTES
¿Con qué frecuencia debe sustituir la resistencia de su secadora Maytag?
Debe reemplazar el elemento calefactor solo cuando falle. La mayoría de los elementos duran 5–10 años con el cuidado adecuado. El mantenimiento regular, como limpiar el filtro de pelusa y el conducto de ventilación, ayuda a extender su vida útil.
¿Puede utilizar una resistencia genérica en su secadora Maytag?
Siempre debe usar un elemento calefactor OEM (Fabricante de Equipo Original). Las piezas genéricas pueden no encajar correctamente o ofrecer un rendimiento confiable. Las piezas OEM garantizan la seguridad y compatibilidad con su modelo específico.
¿Qué herramientas se necesitan para sustituir la resistencia de una secadora Maytag?
Necesita un destornillador Phillips, un destornillador de punta plana, una llave de tuercas o una llave de tubo, un multímetro y guantes de trabajo. Estas herramientas le ayudan a acceder, probar y reemplazar el elemento calefactor de forma segura.
¿Por qué su secadora Maytag sigue quemando el fusible térmico?
Un conducto de ventilación obstruido o la acumulación de pelusa suelen causar fallos repetidos del fusible térmico. El flujo de aire restringido provoca sobrecalentamiento. Limpie regularmente el filtro de pelusa y el conducto de ventilación para prevenir este problema.
¿Es seguro reparar su secadora Maytag usted mismo?
Puede reparar su secadora de forma segura si sigue todas las precauciones de seguridad. Siempre desconecte la alimentación eléctrica antes de comenzar. Use equipo de protección. Si se siente inseguro, contacte a un técnico profesional.
¿Cómo saber si el elemento calefactor está malo sin un multímetro?
Puede buscar signos visibles como bobinas rotas o marcas de quemado en el elemento calefactor. Si su secadora funciona pero no produce calor, el elemento puede estar defectuoso. Sin embargo, un multímetro proporciona el diagnóstico más preciso.
¿Qué debe hacer si su secadora aún no calienta después de reemplazar el elemento calefactor?
Verifique el fusible térmico, los termostatos y el suministro de energía. Asegúrese de que todos los cables estén conectados firmemente. Si el problema continúa, consulte a un profesional. Es posible que otros componentes necesiten inspección o reemplazo.
¿Puede un conducto de ventilación obstruido hacer que su secadora Maytag deje de calentar?
Sí. Un conducto de ventilación obstruido restringe el flujo de aire, haciendo que la secadora se sobrecaliente y apague el elemento calefactor. Limpie el conducto de ventilación regularmente para mantener el funcionamiento adecuado de la secadora.
Consejo: El mantenimiento regular previene la mayoría de los problemas de calentamiento y extiende la vida útil de su secadora.

