
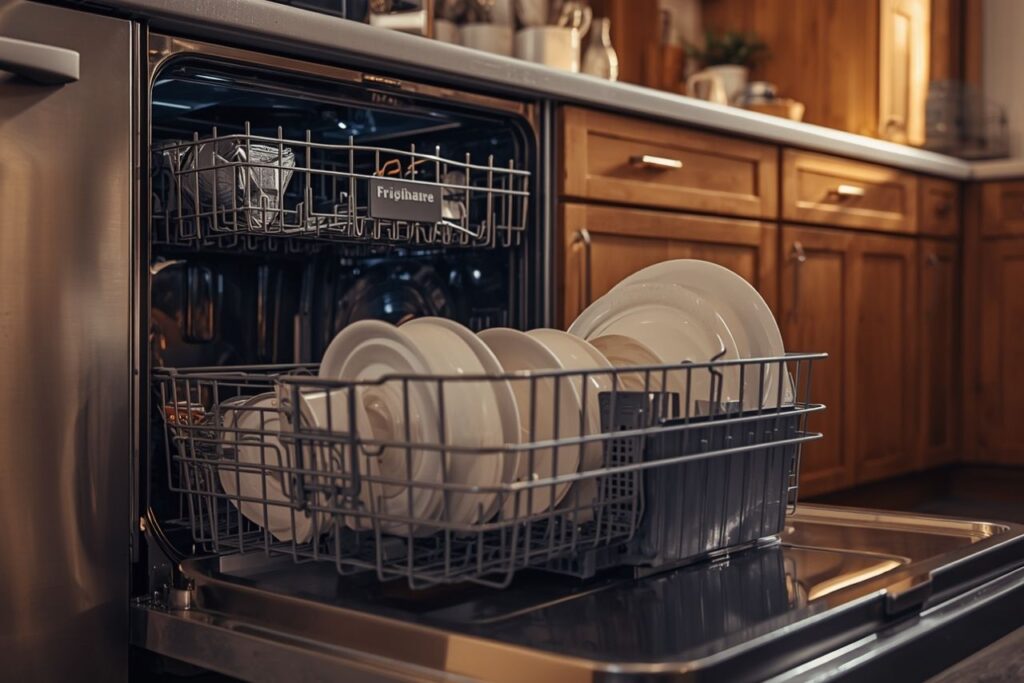
When a Frigidaire dishwasher finishes a cycle but dishes remain wet, the root cause is typically one of three buckets: a failed or underpowered **heating element** circuit, incorrect drying conditions (water temperature, cycle selection, rinse aid use, venting/air movement), or a control/safety condition preventing heat from being applied. A reliable fix starts by separating “no heat” from “heat present but drying inefficient,” then validating part compatibility (voltage/wattage) and restoring the conditions the drying system was designed for.
Related product and manufacturing resources: Heating Element, Heating Element manufacturer, Heating Element Factory, Die Casting Heating Solutions.
How dishwasher drying actually works
Drying performance is the result of heat energy plus airflow/venting and water sheeting behavior. In many designs, the heating element raises internal temperature so water evaporates faster; rinse aid changes surface tension so water sheets off rather than forming droplets. If the element is not energized—or if the cycle avoids heated dry— the dishwasher can still “wash,” but drying becomes noticeably weaker.
Why a “heating element” is more than just a coil
Engineering-focused heater guidance describes a heating element as a component composed of electrically conductive and insulating materials, plus terminals and a framework that holds the resistive alloy in a safe geometry. It is an assemblage that converts electrical energy into heat via resistive (Joule) heating. This matters for dishwashers: burned terminals, loosened connectors, or degraded insulation can stop heat even if the element looks intact.
Section summary
Effective drying requires heat plus conditions that let that heat turn water into vapor and move it out of the tub. Failures can originate in the element, terminals, insulation/support, or system logic that prevents heating.
Symptom splitter: “no heat” vs “low drying efficiency”
A fast diagnosis becomes easier when the symptom is categorized. The tables below separate “heat not applied” from “heat applied but drying still poor,” because the fixes and parts needed differ.
| Observed symptom | Most likely category | High-yield checks |
|---|---|---|
| Dishes cold at end of cycle | No heat applied | Heated-dry option enabled; element continuity; terminal condition; control/safety interlocks |
| Plastic items very wet; glass mostly dry | Drying efficiency limitation | Rinse aid; venting; loading patterns; water temperature entering unit |
| Burn smell or discolored connectors | Electrical connection fault | Inspect spade terminals/wires; replace heat-damaged connectors; verify tight connections |
| Cycle completes but error/poor performance after repairs | Compatibility/spec mismatch | Confirm element’s voltage/wattage and physical fit against unit identification plate/parts list |
Repair-impact chart (typical household cases)
Relative impact estimates reflect common field patterns: restoring heat and airflow conditions tends to produce the largest gains in drying results.
Section summary
The fastest path to a fix is to confirm whether heat is missing entirely or present but not producing sufficient evaporation and moisture removal.
Step-by-step fix workflow (diagnosis → repair → verification)
The workflow below is written to be model-agnostic while remaining consistent with manufacturer-style repair discipline: validate compatibility, keep wiring connections secure, and restore protective covers before powering the appliance.
Safety and scope
Dishwasher electrical servicing can involve live circuits and water exposure. If insulation is damaged, terminals are burnt, or diagnosis requires energized testing, a qualified technician is the appropriate next step.
Phase 1 — Confirm drying settings and inlet conditions
- Confirm the selected cycle uses heat (many eco modes reduce or disable heater use).
- Confirm the heated-dry option is enabled where applicable.
- Confirm hot water is entering the dishwasher (household hot water line connected and delivering adequate temperature).
- Confirm rinse aid is present and correctly dosed for the water condition.
- Confirm filters and spray arms are clean enough for proper wash/rinse performance (poor rinse can leave films that hold water).
Why this matters
Even a perfectly functional element can produce disappointing results if the cycle does not command heat or if the incoming water starts cold, extending time-to-temp and reducing final evaporation. These steps rule out “false heating element failures.”
Phase 2 — Inspect the heating circuit at the tub level
The goal is to check obvious mechanical and electrical issues before any parts are ordered.
- Inspect the heater for physical damage, pitting, or deformation.
- Inspect wiring harness and terminals for discoloration or looseness.
- Look for signs of overheating near connectors (brittle insulation, melted housings).
Phase 3 — Test and decide (repair vs replace)
If an electrical test is performed, the guiding principle is straightforward: verify the component is correct for the appliance’s electrical requirements, then confirm electrical continuity and connector integrity.
| Finding | Interpretation | Action |
|---|---|---|
| Open circuit / no continuity | Internal conductive path is broken | Replace the heating element (and inspect/repair terminals) |
| Continuity present, terminals damaged | Element may still heat, but connection can fail under load | Replace terminals/wiring sections; consider element replacement if heat damage is significant |
| Continuity present, drying still poor | Heater may not be commanded on, or airflow/venting/rinse aid is the limiter | Re-check cycle options, water temp, vent operation, and control logic |
Phase 4 — Replace the element correctly (quality controls)
A manufacturer help workflow for heating element replacement in another high-power appliance emphasizes two universal controls that translate well to dishwashers: verify the replacement element by referencing equipment information (voltage/wattage), and ensure all wire connections are tight, followed by restoring the cover/protector to reduce shock/fire risk before returning power.
Post-replacement verification checklist
- Correct part installed (fit, terminals, and rating)
- All wire connections fully seated and tight
- Protective covers and insulation restored
- No pinched wires or exposed conductors
- Controlled test cycle confirms improved drying
Section summary
A disciplined fix validates settings and inlet conditions first, then inspects terminals and heater integrity, and finally replaces components only after confirming correct rating and fit.
Selecting a replacement element: what to match and why
Replacement quality is not only “does it bolt in.” Heating element engineering guidance highlights material and design tradeoffs, while appliance service guidance stresses matching voltage and wattage. Together, these points create a practical sourcing rule: match the appliance’s electrical requirements and choose a component built with stable materials and robust terminal integration.
Specification matching (non-negotiables)
| Spec to match | Why it matters | What failure looks like |
|---|---|---|
| Voltage & wattage | Controls heat output and electrical load; must align with appliance requirements | Weak drying, overheating, nuisance trips, control faults |
| Terminal geometry | Secure contact reduces resistive heating at connectors | Hot terminals, arcing, melted connectors, intermittent heat |
| Material compatibility | Environment affects longevity; contaminants and corrosion shorten life | Premature burnout, pitting, localized overheating |
How manufacturers describe element families (useful for procurement discussions)
In industrial and appliance supply chains, heaters are often grouped by heat-transfer mode and form factor: tubular heaters (efficient heat conduction, insulated powder and resistance wire inside a metal sheath), heating plates (uniform surface heat distribution and mechanical stability), and heating films (thin, flexible heat with rapid response in compact spaces). This taxonomy helps buyers communicate requirements even when the end application differs.
Where integrated modules fit
For compact appliances that require structural integration, die-cast thermal modules can combine metal die-casting (e.g., aluminum/copper alloys) with heating elements to improve heat transfer efficiency, while also improving mechanical strength and corrosion resistance. This is a different architecture than a dishwasher tub heater, but it illustrates why the “heater is an assembly” concept matters for reliability-focused designs.
Section summary
Correct replacement depends on matching voltage/wattage and ensuring robust terminal integration; heater families (tubes, plates, films, integrated die-cast modules) provide a practical vocabulary for sourcing and design.
How to prevent repeat failures (and reduce total cost)
The most expensive heater is often the one replaced twice. Engineering discussions about heater cost emphasize “less obvious costs” such as field replacements, downtime, rework, and warranty exposure. For dishwashers, repeat failures are frequently tied to connector hot spots, corrosive conditions, and misdiagnosed control issues.
| Hidden cost driver | Why it increases cost | Mitigation |
|---|---|---|
| Repeat replacements | Labor and downtime exceed part price quickly | Fix terminals and root cause (settings/water temp/controls), not only the element |
| Connector overheating | Loose terminals create localized resistive heating | Replace heat-damaged connectors; confirm tight fit and secure routing |
| Corrosive/contaminant exposure | Some environments shorten alloy life | Use appropriate materials; keep filters clean; reduce harsh residues when possible |
| Wrong part specs | Mismatch creates performance or reliability issues | Verify the unit data and match voltage/wattage before installation |
Maintenance actions that most improve drying consistency
Section summary
Long-term drying performance improves when repairs address connectors, compatibility, and operating conditions—not only the heater part number.
FAQ
1) If the dishwasher cleans well but does not dry, does that prove the heater is bad?
No. Many cycles can complete washing with minimal or no heater use, depending on settings and model logic. Poor drying can also result from disabled heated-dry options, low inlet water temperature, or missing rinse aid.
2) What is the most reliable way to avoid ordering the wrong heating element?
Confirm the dishwasher’s identification information and match the replacement’s voltage and wattage requirements. Manufacturer-style repair guidance for heating elements in other appliances explicitly calls for verifying the new element against the equipment’s data plate specifications.
3) Why do terminals matter so much if the element is the part that heats?
Heater engineering references describe the element as an assemblage that includes terminals and insulating/support materials. Loose or heat-damaged terminals can generate their own resistive heating and cause intermittent operation, arcing, or premature failures.
4) Can a dishwasher drying problem be “normal” for plastic items?
Yes. Plastics often retain more water and cool faster than glass or ceramics, reducing evaporation. Heat, rinse aid, and venting help, but some residual moisture on plastics is common.
5) What should be verified after a heater replacement before running a full cycle?
Confirm all wire connections are tight, no wires are pinched, insulation and covers are restored, and a controlled test confirms improved drying. General appliance service guidance also emphasizes securing covers to reduce fire and electric shock risk.
Conclusion
A Frigidaire dishwasher that does not dry reliably is usually fixed by narrowing the problem to either missing heat or weak drying conditions, then applying a disciplined workflow: validate settings and inlet temperature, inspect the heater circuit and terminals, verify part compatibility by voltage/wattage, and restore all protective covers before testing. When sourcing components, treating the heater as an engineered assembly—coil, insulation/support, and terminals—reduces repeat failures and lowers total cost.
References and outbound links
Engineering and heater design concepts (materials, assemblies, tradeoffs, hidden costs)
https://tutco.com/conductive/heating-elements
Service-style replacement controls (verify voltage/wattage; tight wiring; restore covers before power)
https://www.whirlpoolwaterheaters.com/support/help/element-was-out-of-range/24
Manufacturer product family references (tubes, plates, films, integrated modules)
https://jinzho.com/
https://jinzho.com/product-category/heating-element/
https://jinzho.com/product-category/heating-element/heating-tubes/
https://jinzho.com/product-category/heating-element/heating-plate/
https://jinzho.com/product-category/heating-element/heating-film/
https://jinzho.com/product-category/die-casting-heating-solutions/
https://jinzho.com/product-category/electric-heater-parts/electric-boiler-heater/
Example of procurement-style specification fields (wattage, materials, approvals, warranty/returns)
https://usa.hudsonreed.com/1000-plug-in-watt-electric-heating-element-76309
Editorial note: This article is written for general educational purposes and does not replace model-specific service documentation. Where electrical testing or control-board diagnosis is required, qualified service is recommended.

