
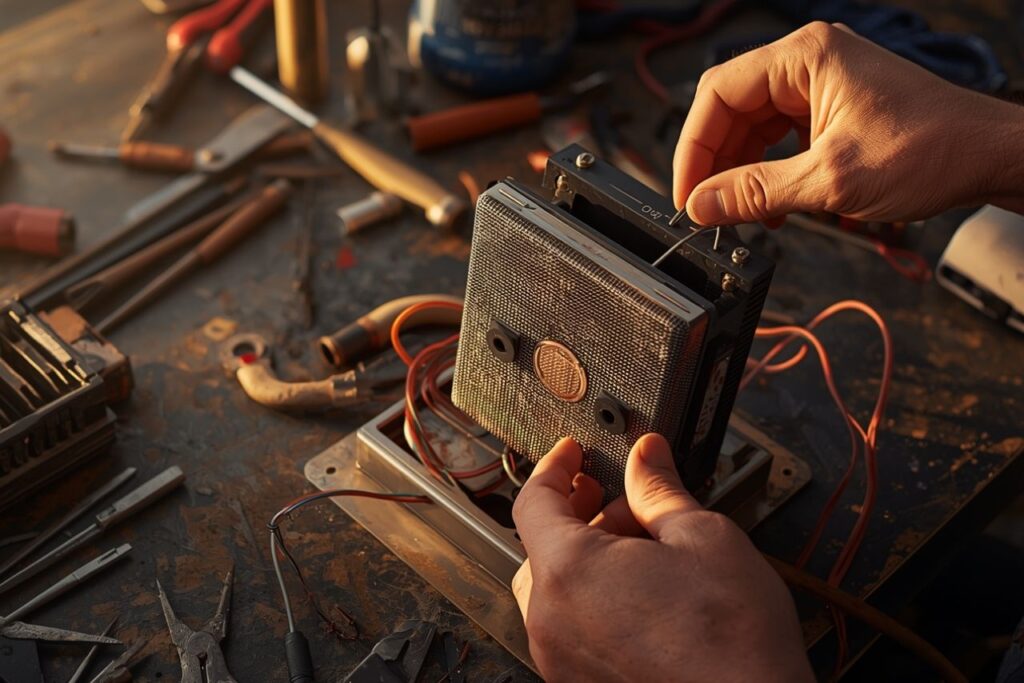
Replacing a Roper electric dryer heating element as a DIY project is most reliable when the work is treated as a controlled, end-to-end repair: confirm the exact dryer model and heater configuration, source an element that matches required rating and physical layout, remove lint and restore airflow to avoid overheating, replace the element assembly with correct wiring discipline and secure terminals, reinstall all covers, and then perform a controlled heat verification. Engineering guidance emphasizes that a heating element is an **assembly** (conductive alloy plus insulating/support framework and lead connectors), so connectors, supports, and the operating environment can be as important as the coil itself.
Internal references: Heating Element, Heating Element manufacturer, Heating Element Factory, Die Casting Heating Solutions.
- What the heating element does (and why it fails)
- Before buying parts: identify the correct Roper model
- DIY sourcing checklist (fit, rating, supplier controls)
- Safety and preparation
- Replacement workflow (model-agnostic, best practice)
- Post-replacement verification
- Preventing repeat failures
- FAQ (6 questions)
- References and outbound links
What the heating element does (and why it fails)
A dryer heating element converts electrical energy into heat via **resistive heating** (also called **Joule heating**). Engineering explanations describe a heating element as more than heating alloy: it is an assemblage that includes an insulating/support framework and terminals that safely connect the element to a circuit. As a result, failures can originate from the coil, from terminal degradation, or from operating conditions that run the element hotter than intended.
High-probability failure drivers in electric dryers
- Airflow restriction (lint/vent blockage) causing higher element temperature and cycling stress
- Loose spade terminals creating connector hot spots and arcing
- Mechanical misalignment leading to coil contact with the heater housing
- Safety device operation (thermal fuse/high-limit) after an overheat event
Section summary
Heating element problems are frequently “system problems” involving airflow, terminals, and safety cutoffs—not only a broken coil.
Before buying parts: identify the correct Roper model
The correct replacement heating element depends on the exact model number and the heater housing configuration. Visual similarity is not reliable for matching. Identification should start at the dryer data plate.
Model identification checklist
- Record model and serial numbers from the data plate.
- Confirm the dryer is electric (gas models use a different heat system).
- Confirm the heater assembly style used by that platform.
Section summary
Accurate model identification is the single best step to prevent wrong-part delays and rework.
DIY sourcing checklist (fit, rating, supplier controls)
Sourcing should be treated as a technical verification step. A well-specified heating product listing typically presents key fields (power, materials, approvals, warranty/returns). Even when the listing is for a different heater type, the same discipline helps prevent buying an incorrect component.
| Item to verify | What “good” looks like | What goes wrong if skipped |
|---|---|---|
| Compatibility | Explicit model/platform match | Wrong geometry, misaligned coil, installation cannot be completed |
| Electrical rating | Confirmed **voltage** and **wattage** per equipment specifications | Incorrect heat output, abnormal cycling, wiring stress |
| Terminal style | Correct spade/flag terminal interface | Loose fit, contact heating, arcing, repeat failure |
| Supplier controls | Documented returns and warranty terms | Higher total cost if the first part is incorrect or defective |
Rating verification principle
Manufacturer-style instructions for heating element replacement in other equipment explicitly advise verifying the new element is correct by referencing the equipment data plate for voltage and wattage, and ensuring wire connections are tight before restoring power. The appliance differs, but the verification and sequencing discipline remains applicable.
Section summary
Good DIY sourcing prioritizes exact fit and correct electrical rating, supported by clear supplier return/warranty policies.
Safety and preparation
Heating element replacement involves high current and exposed metal components. Safety preparation includes electrical isolation, cool-down time, and ensuring the work area allows stable access. Testing should occur only after panels and covers are restored, unless an official procedure explicitly allows otherwise.
Mandatory safety rules
- Disconnect power at the plug or dedicated breaker.
- Allow the heater duct area to cool before handling.
- Do not bypass **thermal fuses** or **high-limit thermostats** for “diagnosis.”
- Replace heat-damaged terminals and wiring rather than reusing them.
Airflow prep (often the hidden root cause)
- Clean lint screen and lint housing
- Vacuum heater box area and cabinet lint
- Inspect vent hose for kinks/crushing
- Confirm exterior vent hood opens freely
Section summary
Safety for DIY work depends on full power isolation and correcting airflow restrictions before energizing the new element.
Replacement workflow (model-agnostic, best practice)
Roper dryer chassis layouts vary. The steps below provide a robust workflow emphasizing wiring documentation, mechanical clearance, and full reassembly before testing.
Step 1 — Access the heater housing
- Remove the relevant access panel(s) to reach the heater box/duct.
- Vacuum loose lint near the heater housing before disturbing wiring.
Step 2 — Document wiring and disconnect terminals
- Photograph all wire positions at the element terminals and safety devices.
- Disconnect spade terminals by gripping the connector body.
- Inspect terminals for discoloration or looseness; replace if compromised.
Step 3 — Remove the old element assembly
- Remove fasteners securing the heater cover/retainer.
- Withdraw the element carefully to avoid bending supports or damaging insulators.
- Inspect the heater housing for burn marks indicating element contact.
Step 4 — Install the new element with correct support and clearance
Engineering descriptions distinguish **suspended**, **embedded**, and **supported** wire elements, emphasizing that support affects sag and heat transfer. In a dryer, the element depends heavily on airflow (convection) and must remain centered and supported to avoid shorts and hot spots.
- Seat the element so it is stable and centered within the heater duct.
- Ensure all spacers/insulators are installed as designed.
- Secure the element without warping the frame.
Step 5 — Reconnect wiring and reassemble
- Reconnect wires exactly as documented.
- Confirm terminals are tight and fully seated.
- Reinstall heater covers, insulation pieces, and cabinet panels.
Section summary
A correct DIY replacement centers on documentation, connector integrity, stable element support, and full reassembly.
Post-replacement verification
Verification should be staged: visual inspection and optional continuity checks with power off, then a controlled heat test with all covers installed. This mirrors a broader principle seen in manufacturer procedures for other heating systems: power should not be restored until the system is in a safe operating condition.
Pre-power checklist
- All panels and heater covers installed
- No loose wires or damaged insulation near hot surfaces
- Vent path connected and unrestricted
- Lint screen clean and seated
- Optional: continuity check of the element and thermal fuse (power off)
Controlled first heat run
- Restore power and run a short timed heat cycle.
- Confirm warm exhaust and strong airflow within a few minutes.
- Stop the cycle immediately if a breaker trips, arcing occurs, or strong burning odor persists.
| Post-install symptom | Most likely cause | Next action |
|---|---|---|
| Still no heat | Open thermal fuse/cutoff, wiring mismatch, supply issue | Re-check wiring photos; test safety devices; consider qualified service evaluation |
| Rapid cycling / overheating smell | Airflow restriction or lint scorching | Stop use; clean vent path and heater housing; verify exhaust flow |
| Breaker trips | Short to chassis, pinched wire, element contact | Stop use; inspect clearances and wiring; professional diagnosis recommended |
Section summary
Successful verification combines restored airflow and stable heating behavior without abnormal cycling, odors, or electrical faults.
Preventing repeat failures
Heater life depends on materials and operating conditions. Engineering sources note that material properties change with conditions and that environment/contaminants can shorten life. For dryers, the “environment” is dominated by lint and airflow. Lowering the element’s operating temperature by improving airflow is often the best long-term protection.
| Risk factor | Why it matters | Prevention step |
|---|---|---|
| Vent restriction | Elevates element temperature and stresses safety cutoffs | Regular vent inspection and cleaning; verify strong exhaust flow |
| Loose terminals | Creates resistance heating at the connector; can arc/melt | Replace weak spades; ensure tight, fully seated connections |
| Element misalignment | Contact with housing can short or create hotspots | Confirm supports/insulators and centered positioning before closing covers |
LSI / semantic keywords used in context
**Roper dryer heating element**, **dryer heater coil**, **thermal fuse**, **high-limit thermostat**, **continuity test**, **multimeter**, **airflow restriction**, **vent cleaning**, **resistive heating**, **Joule heating**, **watt density**, **nichrome alloy**, **insulating framework**, **supported element**.
Section summary
Repeat failures are most often prevented through airflow restoration and connector/terminal quality control.
FAQ
1) Does “tumbles but no heat” always mean the heating element is bad?
Not always. “No heat” can also result from an open thermal fuse/thermal cutoff, a thermostat issue, wiring/terminal damage, or a supply condition. Continuity checks (power off) reduce guesswork.
2) Why is the heating element described as an “assembly”?
Engineering definitions explain that a heating element includes conductive alloy plus an insulating/support framework and lead connectors. In dryer repairs, terminal integrity and mechanical support are common failure points.
3) Can a thermal fuse be bypassed temporarily to test heat?
No. Bypassing safety devices increases fire risk and can hide the root cause, frequently restricted airflow.
4) What causes a new heating element to fail quickly?
Airflow restriction and loose terminals are common causes. Restricted airflow raises operating temperature, while loose terminals can overheat and arc.
5) Should the vent be cleaned when replacing the element?
Yes. Vent cleaning is often part of a durable fix because it reduces overheating conditions that shorten heater life.
6) What is the safest sequence for testing after installation?
Restore all covers and panels, confirm venting is connected and open, then run a short controlled heat cycle while monitoring for abnormal odors, cycling, or electrical faults.
Conclusion
A DIY heating element replacement on a Roper electric dryer is most reliable when it is approached as a system repair: correct model-based sourcing, verified ratings and fit, lint and vent restoration to protect operating conditions, careful installation of the element assembly with secure terminals, and controlled post-install verification after full reassembly. This method reduces repeat failures, improves drying performance, and supports safe operation.
References and outbound links
Heating element engineering background (element as assembly, alloys, supported/suspended/embedded frameworks, environment and cost considerations):
https://tutco.com/conductive/heating-elements
Verification and safe sequencing principles (verify replacement by data plate voltage/wattage; secure covers; restore power only when safe):
https://www.whirlpoolwaterheaters.com/support/help/element-was-out-of-range/24
Product-family context and manufacturing framing:
https://jinzho.com/
https://jinzho.com/product-category/heating-element/
https://jinzho.com/product-category/heating-element/heating-tubes/
https://jinzho.com/product-category/heating-element/heating-plate/
https://jinzho.com/product-category/heating-element/heating-film/
https://jinzho.com/product-category/die-casting-heating-solutions/
https://jinzho.com/product-category/electric-heater-parts/electric-boiler-heater/
Example of spec-format product listing (fields such as wattage, materials, IP rating, UL approval, warranty/returns):
https://usa.hudsonreed.com/1000-plug-in-watt-electric-heating-element-76309
Disclaimer: This page is educational and model-agnostic. Disassembly steps vary by Roper dryer model. For any live electrical diagnostics, qualified service practices should be followed.

