
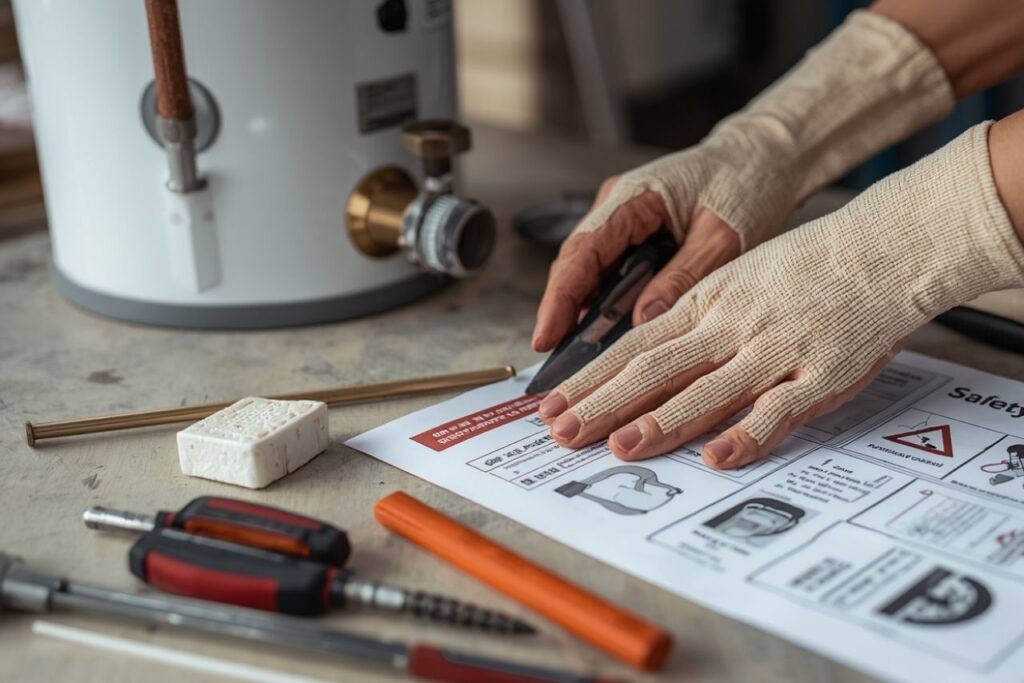
Checking an electric water heater element is not just a “quick test.” You’re working around high voltage, hot pressurized water, and metal panels that can cut skin. That’s why the safest approach is to treat the job like a controlled procedure: make the system safe first, then inspect or test, and only then consider replacement. This guide focuses on safety precautions before you touch wiring or open the tank.
- 1) The 3 hazards you must control
- 2) What a water heater “element” is (and why safety matters)
- 3) Safety prep checklist (before opening panels)
- 4) Electrical safety: lockout, verify, and avoid dry-fire
- 5) Water safety: scald prevention and safe draining basics
- 6) Safe access to the element and wiring
- 7) If replacement is needed: safety-first sequence
- 8) After reassembly: leak check + safe power-up
- FAQ
1) The 3 hazards you must control
Most injuries and “new part failed immediately” stories come from skipping one of these controls:
Hazard A: Electric shock / arc
Electric water heaters commonly operate on high voltage. Loose connections or accidental contact can cause severe shock or arcing.
Hazard B: Scalding and hot water release
Draining or opening a system with hot water can burn skin quickly. Cooling first reduces risk dramatically.
Hazard C: “Dry firing” a new element
If power is applied before the tank is fully refilled and purged of air, the upper element can burn out rapidly (a classic avoidable failure).
Hazard D (bonus): Cuts and slips
Panels and insulation can be sharp/irritating. Water on the floor creates slip hazards during draining.
2) What a water heater “element” is (and why safety matters)
A heating element is a purpose-built component composed of both electrically conductive and insulating material. The conductive alloy converts electrical energy to heat (resistive/Joule heating). In many water heaters, the heating coil is embedded inside an insulating medium (often magnesium oxide) and enclosed in a metal sheath so heat can transfer safely into water.
That construction is why safety steps matter: the element must remain electrically isolated from the tank, must be submerged for proper heat transfer, and must be wired with tight, secure terminals to prevent overheating at connections.
3) Safety prep checklist (before opening panels)
These are “set the stage” steps that reduce chaos and mistakes:
- Clear the area around the heater and ensure good lighting.
- Keep towels and a bucket nearby; plan where drained water will go.
- Have the right tools ready (screwdriver, multimeter if testing, element wrench/socket if replacing).
- Take a photo of the heater’s data plate (voltage/wattage) and wiring before disassembly.
- If you will drain, confirm you have a hose long enough to reach a safe drain location.
4) Electrical safety: lockout, verify, and avoid dry-fire
Step 1: Turn power OFF at the breaker
Turn the circuit breaker OFF. If it’s a 2-pole breaker, switch both poles OFF (many water heaters require both legs).
Step 2: Verify power is actually OFF
Don’t assume. Before touching wires, verify the heater is de-energized at the element terminals. If you don’t have a meter, do not proceed with electrical work—call a qualified technician.
Step 3: Protect against accidental re-energizing
- Label the breaker (“Do not turn on—service”).
- Keep the access covers off until you are ready to reassemble (a visual reminder).
Dry-fire prevention (critical safety rule)
If you replace an element or drain the tank, do not restore power until the tank is completely full and all air is removed. Applying power to an exposed element can burn it out.
5) Water safety: scald prevention and safe draining basics
If you’re only checking an element electrically, you usually don’t need to drain. But if you’re removing/replacing the element, draining becomes part of the safety plan.
Scald prevention: cool the water first
Open a hot water faucet and let the hot water run until it is cool (this may take 10 minutes or longer). Cooling first reduces the risk of scalding when draining.
Shut off the cold water supply
Turn the cold water supply OFF before draining. This prevents the tank from refilling while you drain and work.
Drain safely
- Connect a garden hose to the water heater’s drain valve and route it to a drain/outside/bucket.
- Open the drain valve. Opening a hot faucet helps the tank drain faster.
- Let the tank drain completely. If sediment clogs the drain valve and you can’t drain, contact a qualified technician.
6) Safe access to the element and wiring
With power OFF and verified, remove the access cover(s) for the upper/lower element(s). Pull back insulation carefully and keep it clean and dry so it can be replaced properly later.
What to look for before touching anything
- Burn marks, melted wire insulation, or loose terminals
- Signs of moisture intrusion around the access area
- Corrosion on terminals (can cause poor connection and heat)
7) If replacement is needed: safety-first sequence
If diagnostics indicate the element needs replacement, use a controlled sequence that prioritizes scald prevention, draining control, correct part verification, and dry-fire prevention.
Safety sequence (condensed from common manufacturer guidance)
| Stage | Safety action | Why it matters |
|---|---|---|
| Cool | Run hot water until cool (10+ minutes if needed) | Reduces scald risk during drain/remove |
| Isolate water | Turn cold supply OFF; connect hose to drain valve | Prevents uncontrolled flow/flooding |
| Drain | Open drain valve; open hot faucet to speed drain | Tank must be empty to remove element safely |
| Remove | Use element wrench or 1 1/2″ deep well socket | Proper tool prevents slipping/stripping |
| Verify | Match new element to data plate (voltage/wattage) | Wrong part can be unsafe or underperform |
| Seal | Install gasket; lubricate with a drop of dishwashing liquid | Protects gasket while tightening; reduces leaks |
Thread and gasket safety details
- Clean tank threads with a rag before installing the new element.
- Hand-tighten first to avoid cross-threading.
- Tighten with the proper wrench/socket; don’t overtighten to the point of gasket damage.
8) After reassembly: leak check + safe power-up
The safe finish is where many people slip up. The tank must be fully filled and purged of air before you restore electrical power.
Refill and purge air (dry-fire prevention)
- Make sure the drain valve is closed.
- Turn cold water supply ON to refill the tank.
- Remove the aerator at the nearest hot water faucet (helps flush debris).
- Open the hot faucet and let it run until full stream; then keep it running for THREE MINUTES to remove air.
- Close the hot faucet and replace the aerator.
Leak check and cover replacement
- Check the new element for leaks. If leaking, tighten until it stops.
- If you cannot stop the leak, drain and inspect the gasket; replace if damaged and reinstall.
- Replace plastic protector, insulation, and the heating element cover(s).
- Ensure all covers are secured to reduce fire and electric shock risk.
Restore power safely
Turn power back ON at the breaker (or replace fuses). It may take up to two hours for the tank to heat fully.
- Tank full + air purged for 3 minutes
- No leaks at the element
- Insulation and covers replaced securely
- Breaker restored only after the above
FAQ
Do I need to drain the tank just to check an element?
Often, no—electrical checks can be done with the tank full as long as power is OFF and verified. Draining is typically needed only when removing/replacing the element.
What’s the most common dangerous mistake after element replacement?
Restoring power before the tank is completely full and purged of air. This can “dry fire” the upper element and cause immediate failure.
Why is gasket lubrication mentioned in element replacement steps?
A small amount of dishwashing liquid can help the gasket seat as the element is tightened, reducing the chance of twisting or tearing the gasket (which can lead to leaks).
How do heating element materials relate to safety?
Heating elements are engineered assemblies of conductive alloy and insulating/support materials. Embedded designs rely on insulation (often MgO) to separate the live conductor from the metal sheath. Damage, moisture intrusion, or improper installation can compromise isolation and create shock/breaker-trip hazards.
Disclaimer: This article is general safety information and does not replace your specific water heater’s printed owner’s manual, labels, or local safety requirements. If you cannot verify de-energization, cannot drain safely, or see damaged wiring, contact a qualified technician.

