
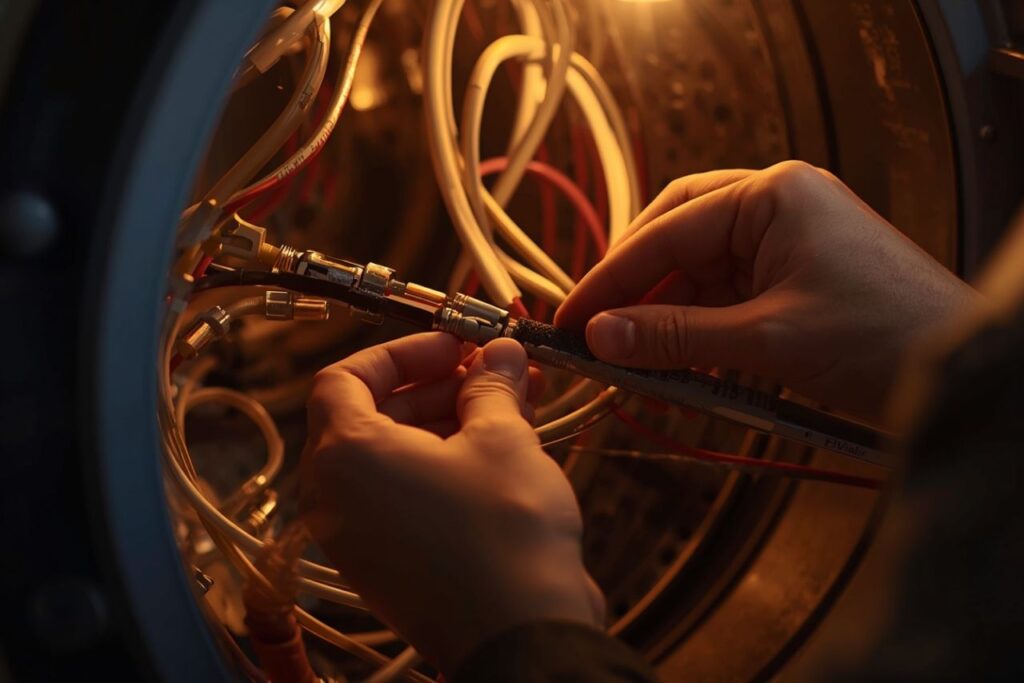
Installing an Electrolux dryer heating element is a controlled service task: isolate electrical power, verify the replacement element is the correct rating and form factor, document and protect wiring connections, remove lint that can create airflow restriction, install the element assembly without deforming its supports, and reassemble the heater duct and covers before the first heat test. Because a heating element is an engineered **assembly**—conductive alloy plus insulating/support framework and terminals— installation quality and airflow conditions strongly influence safety and service life.
Risorse correlate: Elemento Riscaldante, Produttore di elementi riscaldanti, Fabbrica di elementi riscaldanti, Soluzioni di Riscaldamento per Pressofusione.
- Before starting: confirm the unit type and the correct part
- Safety and work-area setup
- Strumenti e materiali
- Step-by-step installation (generic Electrolux layout)
- Controlli post-installazione e primo ciclo di calore
- Charts & tables (wiring discipline, symptoms, failure prevention)
- FAQ (6 domande)
- Riferimenti e link esterni
Before starting: confirm the unit type and the correct part
Electrolux-branded dryers include both electric and gas models. A heating element installation applies to electric dryers; gas dryers use a different heat system (igniter, gas valve, flame sensor). Therefore, the first step is confirming the appliance type and obtaining a model-correct replacement.
Part verification checklist
- Record the dryer model and serial from the data plate.
- Confirm the replacement elemento riscaldante fits that model family.
- Confirm key electrical specifications (**voltage** and **wattage**) match the design intent.
- Confirm physical interface: heater housing geometry, mounting points, and terminal layout.
Why “verify voltage and wattage” is emphasized
Service guidance for heating elements in other appliances explicitly instructs verifying the new element is the correct replacement by referencing the data plate for voltage and wattage. The application differs, but the safety principle is the same: a heating element is specified by electrical rating and must match the equipment it is installed into.
Riepilogo della sezione
Correct installation begins before disassembly: confirm electric dryer type and confirm correct element rating and form factor.
Safety and work-area setup
A dryer heating circuit operates at high current. Installation must be performed with power fully removed and with the dryer stable and accessible. No testing should occur with panels removed unless the manufacturer procedure explicitly allows it and the technician is qualified.
Regole di sicurezza non negoziabili
- Scollegare l'asciugatrice dalla presa o spegnere l'interruttore dedicato (non fare affidamento sul pannello di controllo).
- Allow the heater duct and internal metal surfaces to cool.
- Do not bypass **thermal fuses**, **high-limit thermostats**, or other safety devices.
- If wiring shows melting or arcing marks, stop and repair wiring/terminals before installing the new element.
Riepilogo della sezione
Safe installation requires full de-energization, cool-down, and refusal to bypass protective devices.
Strumenti e materiali
- Nut driver set / socket set (sizes vary by model)
- Cacciaviti a croce e a testa piatta
- Pinze a becco lungo
- Vacuum and soft brush
- Multimeter (ohms/continuity)
- Replacement spade terminals (if existing terminals are heat-damaged)
Riepilogo della sezione
The “extra” tools (vacuum, multimeter, terminal replacements) are often what prevent repeat failures and callbacks.
Step-by-step installation (generic Electrolux layout)
Note: Electrolux dryer chassis variants exist. Access can be through the rear panel, lower front panel, or a service panel near the heater duct. This procedure is model-agnostic and focuses on consistent best practices: wiring discipline, element seating, and airflow restoration.
Step 1 — Document wiring and component positions
- Remove the appropriate access panel to reach the heater housing.
- Take clear photos of all wire connections, especially at the heater terminals and nearby thermostats/thermal cutoffs.
- Label wires if there is any risk of confusing terminals.
Step 2 — Clean lint from heater duct and surrounding airflow path
Heating elements are strongly influenced by environment and contaminants. In dryers, lint and airflow restriction are the dominant “environmental” stressors. Removing lint around the heater duct, blower area, and vent connection reduces overheating risk and can extend element life.
- Vacuum lint around the heater box, duct seams, and cabinet corners.
- Inspect the vent connection for crushing, kinks, and packed lint.
- Confirm the lint filter housing is clear and seated properly.
Step 3 — Disconnect the heating element wires correctly
- Pull spade connectors by the connector body (not by the wire).
- Inspect connectors for discoloration or looseness (a common heat-failure point).
- If a connector is loose or heat-damaged, replace it rather than reusing it.
Step 4 — Remove the old heating element assembly
- Remove the screws securing the heater housing cover or element retainer.
- Withdraw the element carefully to avoid bending supports or scraping insulation.
- Compare old and new elements: geometry, terminal orientation, mounting points, and any included insulators.
Step 5 — Install the new element (mechanical stability and clearance first)
Engineering references emphasize that a heating element is a **component assembly** (conductive alloy plus insulating framework and lead connectors). For dryers, this means the element must be installed so it cannot sag into the housing and create a hot spot or short.
- Seat the element into the heater housing so it is centered and properly supported.
- Ensure insulators/spacers are correctly positioned.
- Reinstall mounting screws without deforming the frame.
Step 6 — Reconnect wiring and restore all covers
- Reconnect wires exactly as documented (photos/labels).
- Confirm terminals are fully seated and tight.
- Reinstall heater covers, insulation pieces, and cabinet panels.
Riepilogo della sezione
Correct element installation is a combination of (1) proper electrical connections, (2) stable mechanical positioning, and (3) restored airflow conditions.
Controlli post-installazione e primo ciclo di calore
The first run should be treated as a controlled verification, not a full-load drying session. A safe sequencing mindset is appropriate: in other heating equipment, manufacturers warn against energizing elements under unsafe conditions (e.g., “dry firing” in water heaters). For dryers, the comparable condition is running a heater with compromised airflow or missing covers that alter duct behavior.
Post-install checklist
- All panels/covers installed; no exposed terminals.
- Vent connected and not crushed; exterior hood not blocked.
- Lint screen clean and seated.
- No wires routed against sharp edges or hot surfaces.
- Optional: Continuità del multimetro check (element circuit) with power off.
First heat test (controlled)
- Restore power and run a short timed heat cycle.
- Observe for unusual odors (beyond minor dust burn-off), noises, or rapid cycling.
- Confirm warm, strong exhaust airflow at the outlet after a few minutes.
Riepilogo della sezione
A successful installation is validated by stable heating behavior and strong exhaust airflow; abnormal cycling often indicates airflow restriction.
Charts & tables (wiring discipline, symptoms, failure prevention)
Table 1: Wiring and connector quality control
| Checkpoint | Pass condition | Fail consequence |
|---|---|---|
| Spade connector fit | Firm fit; fully seated | Contact resistance heating, arcing, intermittent heat |
| Scolorimento dei terminali | No browning/bluing; insulation intact | Evidence of overheating; likely repeat failure if reused |
| Wire routing | Away from sharp edges and heater duct | Insulation breakdown and short risk |
| Cover/insulation restoration | All parts reinstalled | Altered airflow, overheating, shock risk |
Table 2: Symptom-to-cause map after installation
| Symptom after installation | Causa più probabile | Corrective action |
|---|---|---|
| Still no heat | Open thermal fuse/cutoff, miswired terminals, supply issue | Verify wiring against photos; test safety devices; verify supply with qualified tech |
| Heat cycles rapidly | Airflow restriction causing high-limit cycling | Clean vent path; check duct kinks/crushing; clean lint housing |
| Odore di bruciato | Lint scorching, overheated connector, element contacting housing | Stop use; inspect heater box and terminals; correct clearance and airflow |
| Intervento dell'interruttore | Short to chassis, wiring fault, incorrect element | Stop use; inspect for ground fault; professional evaluation |
Table 3: Specification discipline (contextual example)
This table uses a non-dryer elemento riscaldante listing as a “spec-format example” to reinforce the habit of verifying key attributes (wattage, materials, approvals) before installation.
| Spec field commonly listed | Example of why it matters | Dryer installation relevance |
|---|---|---|
| Power (W) | Defines heat output target | Wrong wattage changes heat output and cycling behavior |
| Materiali | Signals thermal and insulation design approach | Connector and support materials affect durability |
| Approvals / compliance | Signals product safety expectations for the market | Prefer reputable supply channels and correct-fit components |
FAQ
1) Does this procedure apply to every Electrolux dryer model?
The workflow (power isolation, documentation, lint removal, correct seating, reassembly, controlled test) is broadly applicable. However, access panels and heater housing layout vary by model, so the model’s service instructions should be used for exact disassembly steps.
2) Why does a new heating element fail quickly?
Rapid failures are commonly linked to airflow restriction (lint/vent issues), poor electrical connections (loose terminals creating hot spots), or an element contacting the housing due to incorrect seating. Element life is strongly influenced by operating temperature and environment.
3) Is it acceptable to bypass a thermal fuse “just to test heat”?
No. Protective devices exist to prevent unsafe overheating. Bypassing them can create fire risk and further equipment damage.
4) Should the vent be cleaned when installing a new element?
Yes. Vent restriction is one of the most common causes of overheating events and repeat heating failures. Cleaning the airflow path is part of a durable repair.
5) What should be done if the dryer still does not heat after installation?
The next checks are the thermal fuse/thermal cutoff, high-limit thermostat, wiring integrity at terminals, and supply conditions. A multimeter test can confirm whether the heater circuit is intact.
6) Why is “heating element assembly” language used instead of “coil”?
Engineering definitions describe heating elements as assemblies: conductive alloy plus insulating framework and lead connectors. Installation errors often occur at the supports and terminals, not only in the coil itself.
Conclusione
A successful Electrolux dryer heating element installation depends on more than replacing a part: the technician must verify correct specifications, maintain wiring and connector integrity, restore airflow conditions by removing lint and ensuring vent continuity, and reassemble the heater duct and covers before energizing the unit. Treating the element as an engineered assembly—and treating airflow as the element’s “cooling system”—is the most effective way to prevent repeat failures.
Riferimenti e link esterni
Heating element engineering concepts (assemblies, alloys, supported/suspended/embedded frameworks, environment/contaminants, watt density and longevity):
https://tutco.com/conductive/heating-elements
Safety sequencing and “verify correct replacement” principle (used as a safety-method parallel):
https://www.whirlpoolwaterheaters.com/support/help/element-was-out-of-range/24
Product-family context (heating tubes/plates/films; integrated modules):
https://jinzho.com/
https://jinzho.com/product-category/heating-element/
https://jinzho.com/product-category/heating-element/heating-tubes/
https://jinzho.com/product-category/heating-element/heating-plate/
https://jinzho.com/product-category/heating-element/heating-film/
https://jinzho.com/product-category/die-casting-heating-solutions/
https://jinzho.com/product-category/electric-heater-parts/electric-boiler-heater/
Example spec-style element listing (wattage, materials, IP rating, UL approval, warranty) used as a specification-discipline reference:
https://usa.hudsonreed.com/1000-plug-in-watt-electric-heating-element-76309
Disclosure: This article is educational and model-agnostic. Exact access panels, fastener locations, and component layouts differ by Electrolux dryer model. Manufacturer service documentation should be followed for model-specific instructions.

