
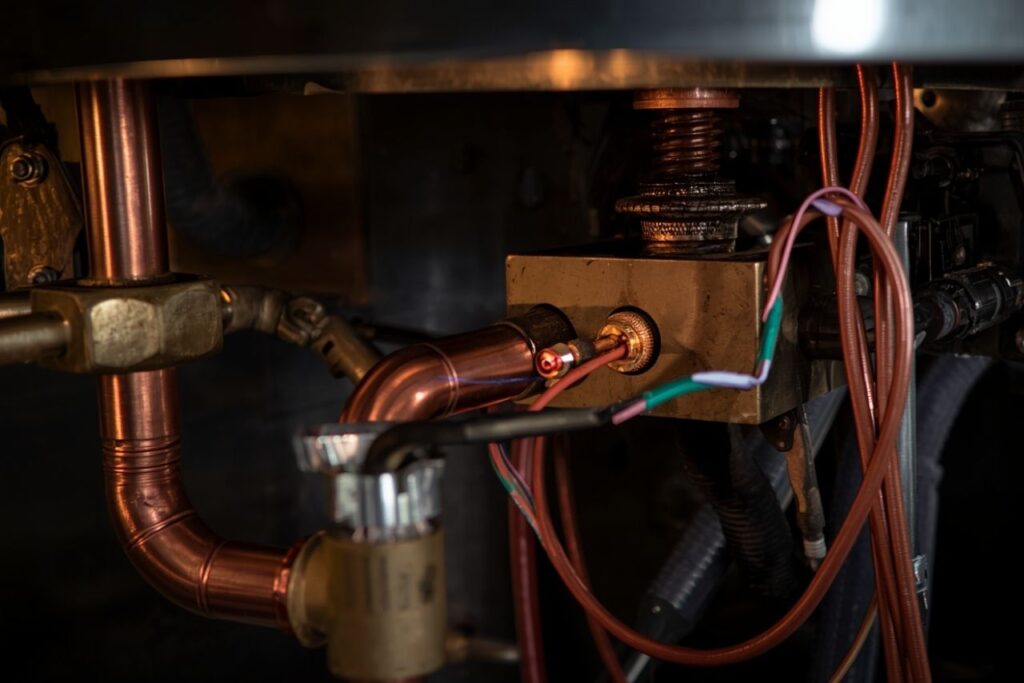
If your electric water heater isn’t producing hot water (or it’s lukewarm), the heating element is one of the first components to test. A fast, accurate continuity check with a multimeter can tell you whether the element’s internal conductive path is intact. Just as important: you should also test for a short to the metal tank (ground), because an element can show continuity and still be unsafe or trip breakers.
- 1) What you’re actually testing (continuity vs. resistance)
- 2) Safety first: electricity + scalding risk
- 3) Tools and access points
- 4) Step-by-step continuity check (proper isolation)
- 5) Short-to-ground test (critical)
- 6) How to interpret results (what’s “good”)
- 7) If it failed: replacement workflow (high-level)
- 8) If it passed: other common no-hot-water causes
- ЧАСТО ЗАДАВАЕМЫЕ ВОПРОСЫ
1) What you’re actually testing (continuity vs. resistance)
A water heater “heating element” is not just a wire—it’s an assembly designed to convert electrical energy into heat through resistive (Joule) heating. In many electric water heaters, the element is an embedded style: the conductive coil is surrounded by an electrically insulating but thermally conductive medium (commonly magnesium oxide), inside a metal sheath. That embedded construction transfers heat primarily by conduction into the tank water.
Because it’s a component (conductive + insulating framework + lead connections), you test two things: (1) is the conductive path intact (continuity / correct resistance), and (2) is it isolated from the metal sheath/tank (no short to ground). Both matter for performance and safety.
2) Safety first: electricity + scalding risk
- Electric shock / arc risk: Turn off power at the breaker and verify before touching wires.
- Scalding / hot water risk: If you will drain the tank for replacement, run hot water until it’s cool first.
For a continuity check only, you typically do не need to drain the tank. But you do need the heater fully de-energized. Electric water heaters are commonly 240V; the danger is real even if “nothing seems to be happening.”
Minimum safe shutdown checklist
- Turn the water heater breaker OFF (both poles for 240V).
- At the water heater, remove the upper (and lower) access covers and insulation as needed.
- Use a meter to confirm there is no voltage at the element terminals before handling wires.
3) Tools and access points
Инструменты
- Digital multimeter (Ω + continuity)
- Screwdriver (covers / insulation)
- Phone camera (wire reference photos)
- If replacing: element wrench or 1 1/2″ deep well socket, garden hose, gasket
Where to test
Most tank-style electric water heaters have an upper и lower element behind rectangular covers. Each element usually has two screw terminals (or studs) with power wires attached.
4) Step-by-step continuity check (proper isolation)
The most common mistake is testing the element while it’s still connected to the rest of the circuit. That can create back-feed paths through thermostats or wiring and give you misleading readings. The fix is simple: isolate the element.
Step-by-step: across-terminal continuity/resistance
- Turn breaker OFF, remove the element cover, and pull back insulation.
- Verify power is OFF at the element terminals using voltage mode (don’t skip this).
- Take a photo of the wiring layout.
- Disconnect both element wires from the two screws/studs (isolate the element).
- Set your multimeter to Ω (resistance). If your meter has continuity beep, you can use it as a quick check—but confirm with Ω.
- Touch one probe to each element terminal and note the reading.
5) Short-to-ground test (critical)
After you confirm the element is not open, you still need to confirm it isn’t leaking current to the metal sheath/tank. This is a classic “trips breaker,” “randomly heats,” or “burns elements” scenario.
How to test terminal → tank ground
- Keep the element wires disconnected.
- Set the meter to continuity or high Ω range.
- Probe one element terminal with the first lead.
- Probe bare metal on the tank (or the element’s metal base) with the other lead.
- Repeat for the other terminal.
6) How to interpret results (what’s “good”)
| Test | Normal / pass | Fail | Значение |
|---|---|---|---|
| Across terminals (Ω) | Finite, stable resistance | OL / ∞ (open circuit) | Open element cannot heat |
| Terminal → tank | OL / very high resistance (no continuity) | Continuity / low resistance | Short-to-ground (unsafe, may trip breaker) |
| Readings unstable | Steady value | Jumping / inconsistent | Loose probe contact, corrosion, or incomplete isolation |
- Across terminals = OL → element is bad (open) → replace.
- Terminal to tank shows continuity → element is bad (short) → replace.
- Element passes both tests → look at thermostats, wiring, and supply voltage.
7) If it failed: replacement workflow (high-level)
If your tests indicate the element is open or shorted, replacement is usually straightforward, but it has a few must-do safety steps. The following high-level workflow reflects common manufacturer guidance for replacing a tank-style electric water heater element.
Replacement steps (summary)
- Run hot water until it’s cool at a faucet (may take 10+ minutes) to reduce scald risk.
- Отключите подачу холодной воды.
- Connect a garden hose to the drain valve and route to a drain/bucket/outside.
- Open the drain valve and drain the tank completely. Opening a hot faucet helps it drain faster.
- Remove the old element using an element wrench or a 1 1/2″ deep well socket.
- Verify the new element matches the data plate (voltage and wattage).
- Clean the tank threads at the opening.
- Install the gasket on the new element; lubricate the gasket with a drop of hand dishwashing liquid to prevent damage while tightening.
- Install and tighten the new element.
- Reconnect power wires tightly—but do not re-energize yet.
- Close drain valve, turn cold water ON, and refill the tank.
- Purge air: remove the aerator on the nearest hot faucet and run hot water until full stream; keep running for ТРИ МИНУТЫ to remove all air.
- Check for leaks at the element. Tighten if needed; if leaking won’t stop, re-seat/replace gasket.
- Replace plastic protector, insulation, and covers.
- Turn power back ON at breaker. It may take up to two hours to heat fully.
8) If it passed: other common no-hot-water causes
If your continuity and ground tests look good, the element may not be the problem. Here are common next checks:
Проблемы с термостатом
Dual-element heaters use thermostats (and sometimes a high-limit reset). A thermostat stuck open, miswired, or set too low can stop heating even with good elements.
High-limit trip
Some units have a resettable high-limit switch. If it trips, the heater can stop. Identify and follow your model’s reset instructions after determining why it overheated.
Wiring / connection heat
Loose terminals create resistance and heat at the connection point, which can cause intermittent operation, melted insulation, and eventual open circuits.
Supply voltage problem
A breaker, disconnect, or wiring issue can deprive the heater of full voltage. The tank can appear “dead” even though parts test okay.
Engineering context: why elements fail over time
All resistance heating elements eventually fail. Oxidation, changes in electrical resistance, mechanical damage, and thermal cycling stress contribute. Material selection and manufacturing details (including alloy composition and trace elements) influence how well an element maintains shape, how protective oxide layers behave, and how it survives repeated heating/cooling. Operating environment matters too—water chemistry, scaling, and hotspots can shorten life.
ЧАСТО ЗАДАВАЕМЫЕ ВОПРОСЫ
Is continuity mode enough to test a water heater element?
Continuity is a useful quick screen, but you should confirm with resistance (Ω) and always perform a short-to-ground test (terminal to tank). An element can “beep” and still be unsafe if it’s leaking to the sheath/tank.
Do I need to drain the tank to test continuity?
Typically, no. For testing, power must be OFF and the element wires should be disconnected for isolation. Draining is usually only required for replacement or when you need to remove the element.
Why does my new element fail quickly?
Two frequent causes are (1) energizing the element before the tank is completely full and purged of air (dry firing), and (2) unresolved overheating conditions (thermostat faults or poor heat transfer/scaling). Following the refill-and-purge sequence and checking controls helps prevent repeat failures.
What should I buy if I’m sourcing heating components for appliances?
Water heaters often use embedded, sheathed designs; other appliances may use heating tubes, plates, films, or integrated die-cast thermal modules depending on space, medium (water/air/surface), controls, and durability needs. Start from your application requirements—temperature, power, environment, mounting, and safety—and then match the heater type accordingly.
Disclaimer: This guide is general information and does not replace your product’s owner’s manual or safety labels. If you encounter damaged wiring, leaks you can’t stop, a breaker that repeatedly trips, or uncertainty about electrical measurements, consult a qualified technician.

