If you want to test a water heater element like a pro, the goal is simple: stop guessing and produce two decisive measurements—(1) the element’s resistance across its terminals, and (2) whether either terminal is leaking to the tank (ground). Once you can measure those correctly (with the circuit isolated), you can confidently decide whether the heating element is good, out of range, shorted, open, or leaking—then either troubleshoot upstream controls or replace the element safely without “dry-firing” a new one.
- 1) Safety first: what pros do before touching anything
- 2) Tools and prep: meter settings, isolation, and what to record
- 3) Resistance test: the fast, decisive check
- 4) Ground/leakage test: the “trip breaker” detector
- 5) Interpreting results: open, short, out-of-range, or good
- 6) Replacing the element safely (Whirlpool-style steps)
- 7) If the element tests good: pro troubleshooting checklist
- FAQ
1) Safety first: what pros do before touching anything
Pro habit #1: lock out power and verify 0V
Turning a breaker “off” is not a measurement. Pros verify with a meter. Before removing any covers or touching wiring, shut off the correct breaker and confirm there is no voltage at the water heater’s terminal block and at the element terminals (as applicable).
Pro habit #2: prevent scalding and pressure surprises
If you plan to remove an element, you must cool the water first and then drain the tank to a safe level. Draining hot water can cause severe burns, and draining improperly can create mess, damage, or unsafe conditions.
2) Tools and prep: meter settings, isolation, and what to record
At minimum you need a multimeter with resistance (Ω) and continuity, plus basic hand tools to remove access panels and insulation. If you’ll replace the element, you’ll also want an element wrench or a 1 1/2" Tiefenstecknuss—a common size noted in many service instructions.
What to record (so you don’t “lose the plot” mid-job)
| Artikel | Where to find it | Warum das wichtig ist |
|---|---|---|
| Tank data plate voltage and wattage | Water heater label | Confirms the correct replacement element and the expected resistance |
| Measured element resistance (Ω) | Across the element’s two terminals | Determines open / out-of-range / approximate power capability |
| Terminal-to-tank resistance (Ω) | Each terminal to bare tank metal | Detects leakage to ground that can trip breakers / create hazard |
| Symptome | User observations | Helps separate “no heat” from “slow recovery” from “breaker trips” |
3) Resistance test: the fast, decisive check
A water heater element is essentially a resistive load. If the internal conductor is broken, the meter will show an open circuit. If it’s badly damaged or mis-specified, the resistance can drift “out of range” for the heater’s design expectations.
Step-by-step resistance test (done right)
- Turn power off at the breaker and verify 0V at the heater wiring.
- Remove the access cover(s), insulation, and any plastic protector to expose the element terminals.
- Element isolieren: remove at least one power wire from the element terminal(s). (Better: remove both.)
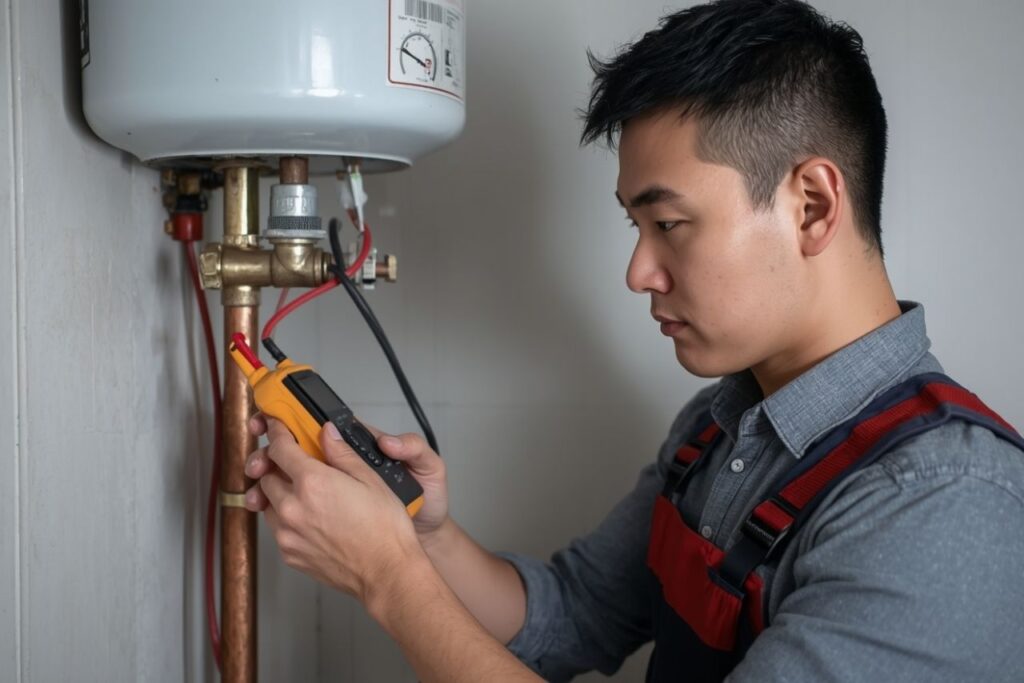
- Set the multimeter to resistance (Ω). Touch one probe to each element terminal.
- Record the reading and compare it to what you’d expect based on the data plate voltage and wattage.
Quick expectation check (rule of thumb)
For a resistive heater: R ≈ V² / P. Example: 240V / 4500W is roughly 12.8Ω; 240V / 5500W is roughly 10.5Ω. Your exact acceptable band depends on element design, temperature, and meter tolerance—but “open” and “very wrong” are usually obvious.
| Meter reading | Likely condition | What it means in the real world |
|---|---|---|
| OL / ∞ (open circuit) | Element is open (burned out) | No heating from that element; replace |
| Close to expected Ω | Element conductor likely intact | Look elsewhere if there is still no heat |
| Significantly higher than expected | Out-of-range / wrong element / degraded conductor | Reduced wattage output → slow recovery, lukewarm water |
| Near 0Ω (rare for intact element) | Short condition (or testing error) | May trip protection; re-check isolation and test to ground |
4) Ground/leakage test: the “trip breaker” detector
Many nuisance breaker trips and GFCI/RCD events come from leakage to ground, not from an “open” element. A heating element can still show a plausible resistance across its terminals while also leaking to the tank.
How to test for leakage to the tank
- Keep the element wiring isolated (do not reconnect yet).
- Set the meter to resistance (high range) or continuity/beep mode.
- Touch one probe to an element terminal and the other probe to bare tank metal (a good ground reference).
- Repeat for the other terminal.
5) Interpreting results: open, short, out-of-range, or good
Pros don’t rely on a single reading. They use the combination of (A) across-terminal resistance and (B) terminal-to-tank results to classify the element quickly.
| Across terminals | Terminal → tank | Diagnose | Recommended action |
|---|---|---|---|
| OL / ∞ | Open (no continuity) | Open element | Element ersetzen |
| Normal Ω | Open (no continuity) | Element likely OK electrically | Troubleshoot controls, power, scaling, wiring |
| Normal or abnormal Ω | Continuity / low Ω | Leakage to ground | Replace element; inspect moisture and wiring damage |
| Very high or clearly wrong Ω | Open (no continuity) | Out-of-range / wrong wattage element | Verify correct voltage/wattage on data plate; replace if mismatched |
6) Replacing the element safely (Whirlpool-style steps)
If your readings point to a failed element (open, leaking to ground, or out-of-range), replacement is straightforward—if you follow a strict order. The sequence below mirrors a common manufacturer safety approach: cool water, shut cold supply, drain, remove, verify replacement rating, reinstall with gasket care, refill, purge air fully, then restore power.
Safe replacement steps (condensed but complete)
- Run hot water until it’s cool: open a hot water faucet and run until cool (often 10 minutes or longer) to reduce scald risk.
- Turn cold water supply off.
- Connect a garden hose to the drain valve, route the other end to a drain/outside/bucket.
- Open the drain valve and drain completely. Opening a hot faucet helps it drain faster. If sediment clogs the drain valve and it won’t drain, contact a qualified technician.
- Remove the old element using an element wrench or a 1 1/2" Tiefenstecknuss.
- Verify the new element is the correct replacement by checking the water heater’s data plate (voltage and wattage).
- Clean the tank threads in the opening with a rag.
- Install the gasket on the new element.
- Lubricate the gasket with a drop of hand dishwashing liquid to help prevent gasket damage while tightening.
- Install the new element: hand-tighten first, then tighten with the wrench/socket.
- Replace power wires and ensure all connections are tight. Do not restore power yet.
- Turn cold water on (with drain valve closed) to refill the tank.
- Remove the aerator at the nearest hot water faucet (helps flush debris and vent air).
- Open a hot water faucet and let it run until it flows full stream; keep it running full stream for DREI MINUTEN Minuten laufen lassen, um Luft auszutreiben.
- Close the hot water faucet and replace the aerator.
- Check for leaks at the new element. If leaking, tighten until leak stops. If you cannot stop the leak, drain, remove the element, inspect/replace the gasket, and reinstall.
- Replace the plastic protector (if present), replace insulation, Und secure the heating element cover to reduce shock and fire risk.
- Turn power back on at the breaker (or replace fuses). Heating can take up to about two hours, depending on tank size and conditions.
Where different element technologies fit (so you choose smarter next time)
Tubular / immersed heating elements (common in water heating)
Jinzhong’s “Heating Tubes” category highlights classic tubular construction: stainless steel/copper/special alloy sheaths, high-purity magnesium oxide insulation, and resistance wire—optimized for insulation and fast heating, with customization for diameters, shapes, wattages, anti-corrosion, and dry-boil protection. That aligns with what most storage water heaters need: stable resistive heating and robust insulation.
High-power liquid heating modules (commercial/industrial)
For large-capacity liquid heating, Jinzhong’s “Electric Boiler Heater” positioning emphasizes thickened tube walls, high-density flange connections, water-pressure resistance, anti-scaling performance, and multi-tube combinations for continuous high-load output—features that matter when you scale up beyond typical household duty cycles.
Die-cast integrated heating modules
Die-cast heaters integrate an efficient heating element with die-cast metal (e.g., aluminum/copper alloys) to improve heat transfer and mechanical strength, with added claims such as corrosion resistance and suitability for complex assemblies. This approach is commonly seen in compact appliances (for example, coffee machine heating bodies), where packaging and thermal response are key.
Heating plates and films (surface heating, compact designs)
Heating plates emphasize uniform surface heating and mechanical stability under long-term temperature exposure, while heating films focus on ultra-thin, flexible heating for tight spaces and curved surfaces with rapid response and uniformity—more common in devices like small appliances and specialty heating zones than in traditional tank water heaters.
7) If the element tests good: pro troubleshooting checklist
When resistance is normal and there is no leakage to the tank, the element is probably not your problem. Pros then shift to system-level checks—power delivery, switching components, wiring integrity, and heat transfer limitations like scaling.
| Symptom | Element readings | High-probability causes to check next |
|---|---|---|
| Überhaupt kein warmes Wasser | Normal Ω, no ground leak | Breaker not supplying, wiring fault, control/thermostat failure, limit switch tripped |
| Hot water but slow recovery | Normal Ω, no ground leak | Incoming voltage low, one element not switching, heavy scale reducing heat transfer |
| Breaker trips intermittently | Sometimes normal Ω | Moisture in wiring compartment, intermittent leakage, damaged insulation, failing connections overheating |
| Uneven performance (top hot, bottom cold) | One element OK, other questionable | Upper/lower element control logic, thermostat sequencing, one element open/out-of-range |
FAQ
What does “element was out of range” usually mean?
In practice it means the measured electrical behavior of the element (most commonly resistance) is outside what the heater expects for its rated voltage/wattage. That can happen from a failed element, a partially degraded conductor, or installing an element with the wrong rating. The professional response is to isolate the element, measure resistance, compare to the data plate, and replace with the correct voltage/wattage if needed.
Do I have to remove the element to test it?
Usually no. You can test at the terminals as long as you isolate the wiring (remove at least one lead). You only need to remove the element if you are replacing it or inspecting for severe scaling/physical damage.
Why is purging air (aerator removal + 3 minutes full stream) so emphasized?
Trapped air can leave an element exposed without adequate water contact. If power is restored before the tank is completely full and air-free, the upper element can burn out (“dry fire”). Removing the nearest faucet aerator and running hot water full stream for three minutes is a practical way to purge air and flush debris.
How long after replacement should I expect hot water?
It depends on tank size, starting temperature, and element wattage. Many manufacturer guides note it may take up to about two hours for the tank to heat after power is restored.
Disclaimer: This content is general information only. Always follow the specific water heater’s labels and owner’s manual and comply with local codes. If you observe leakage to ground, damaged wiring, or draining problems due to sediment blockage, consult a qualified technician.

